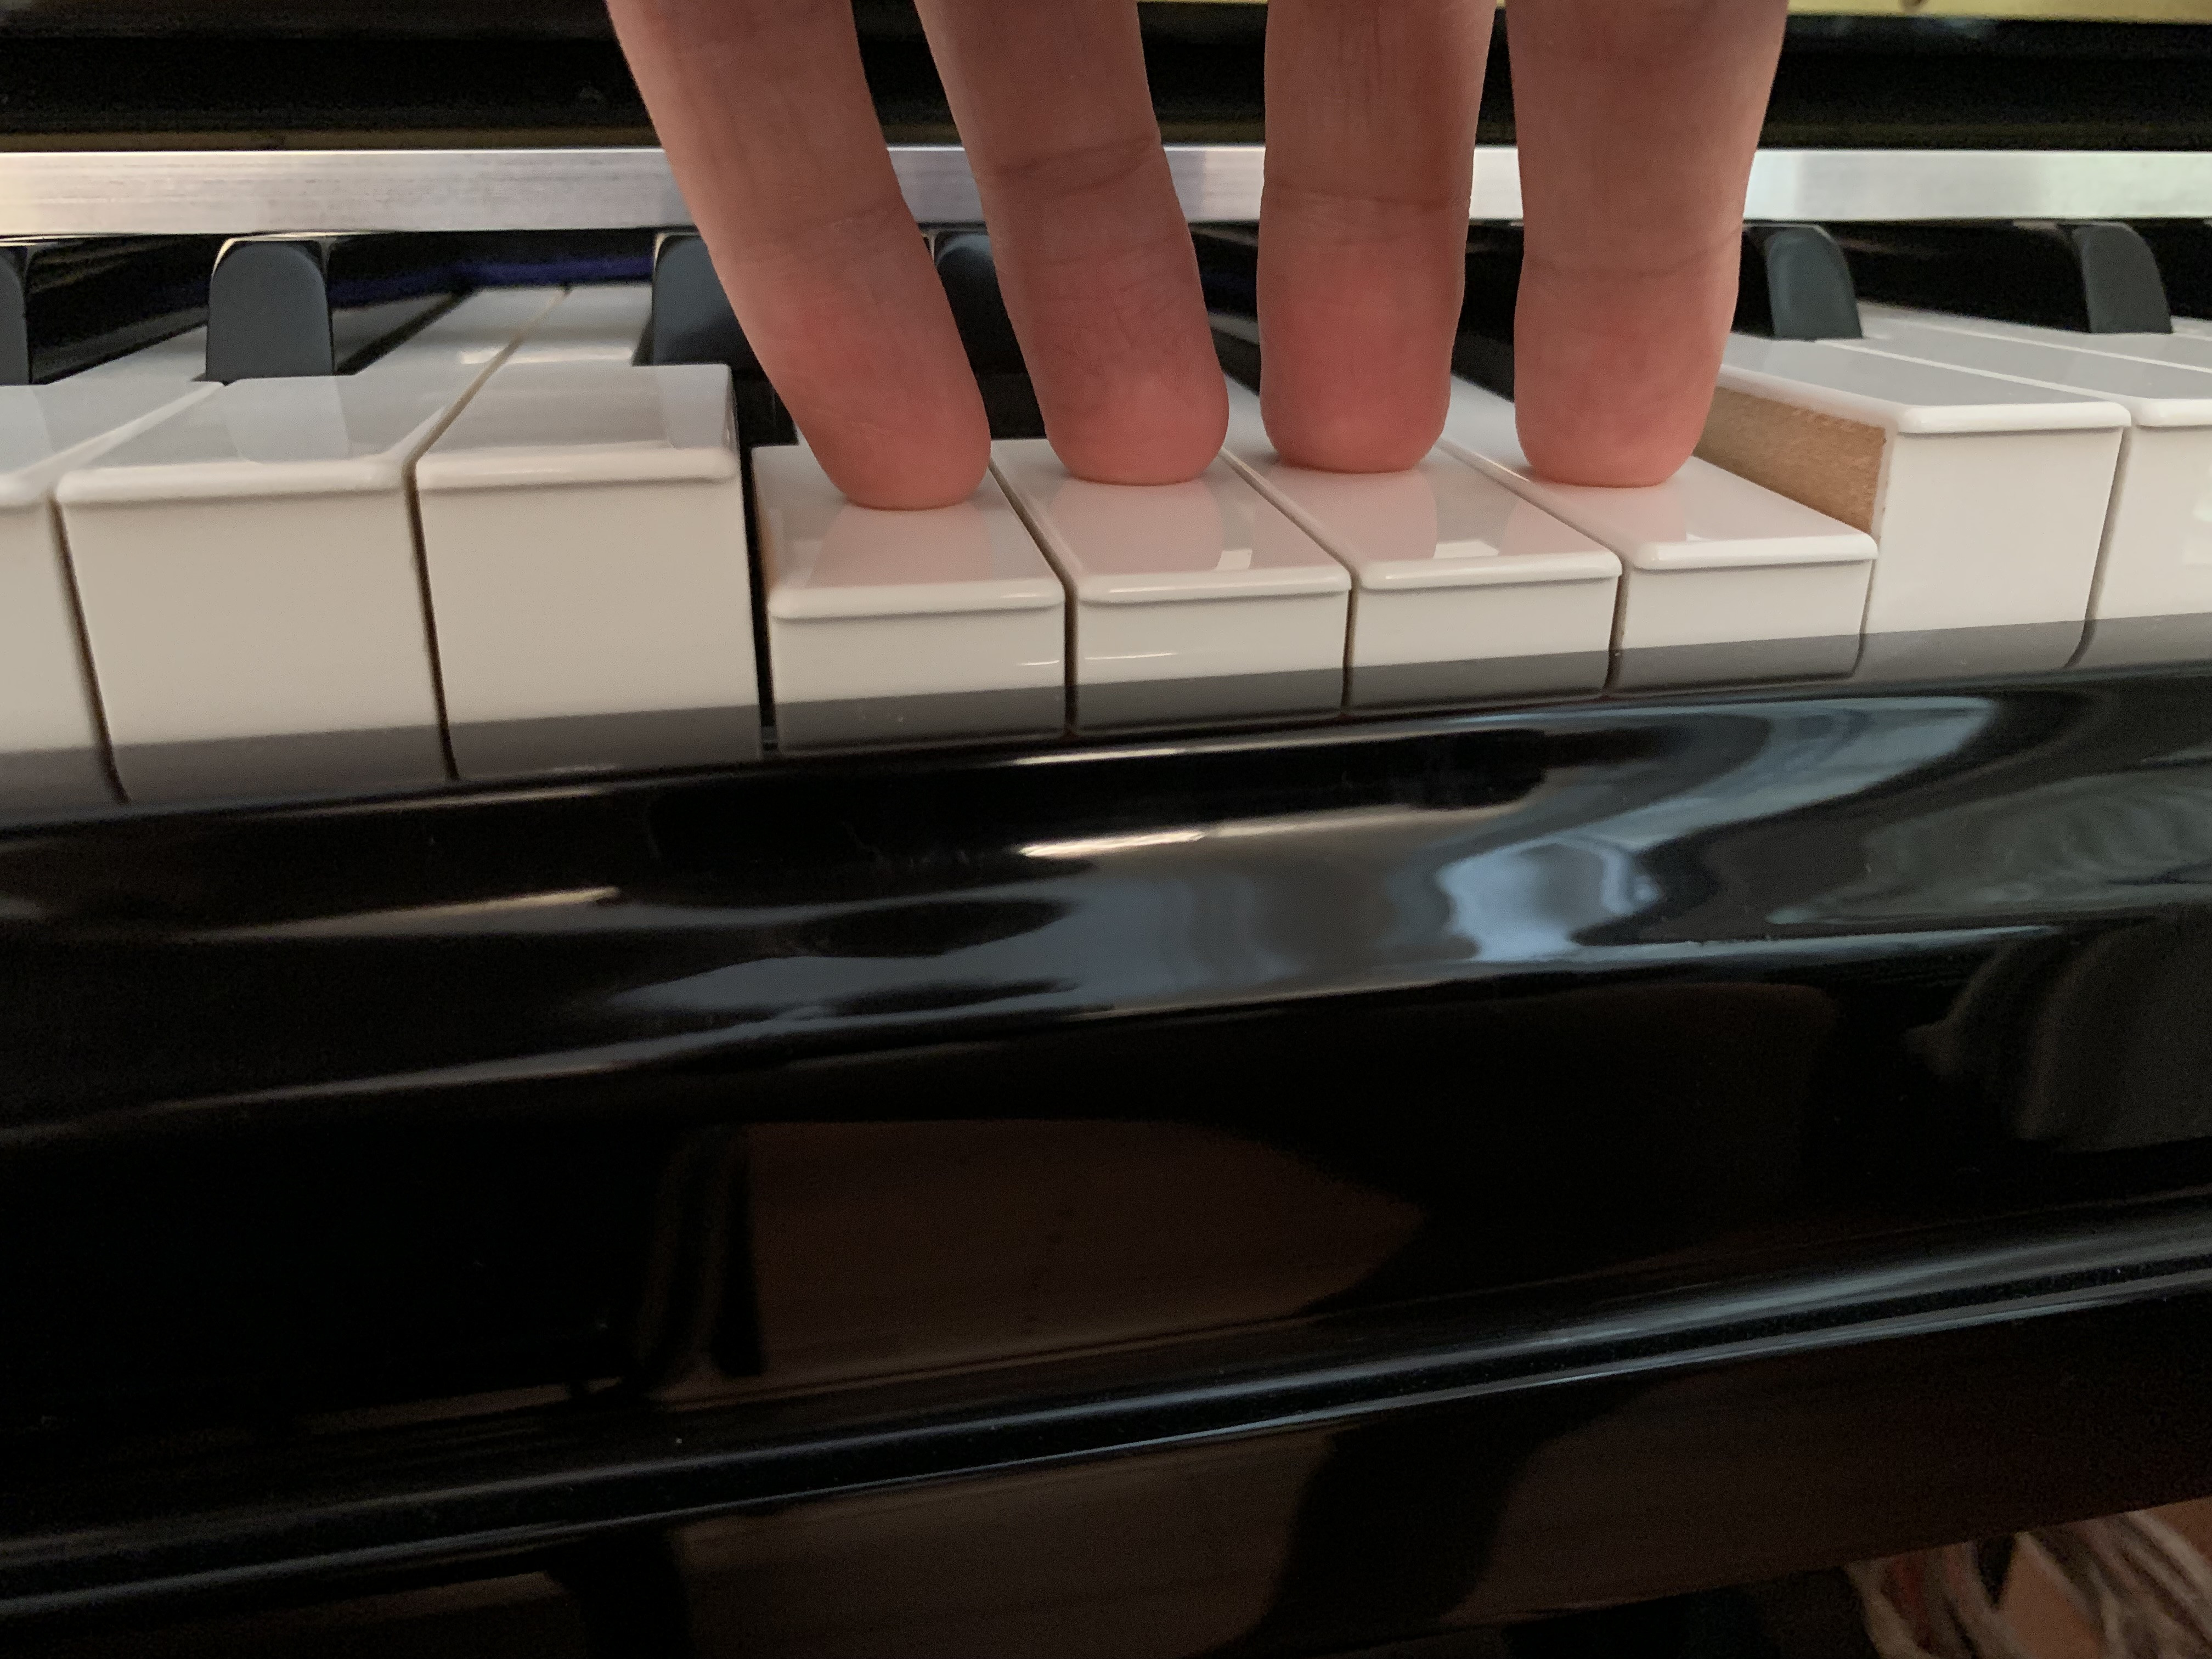
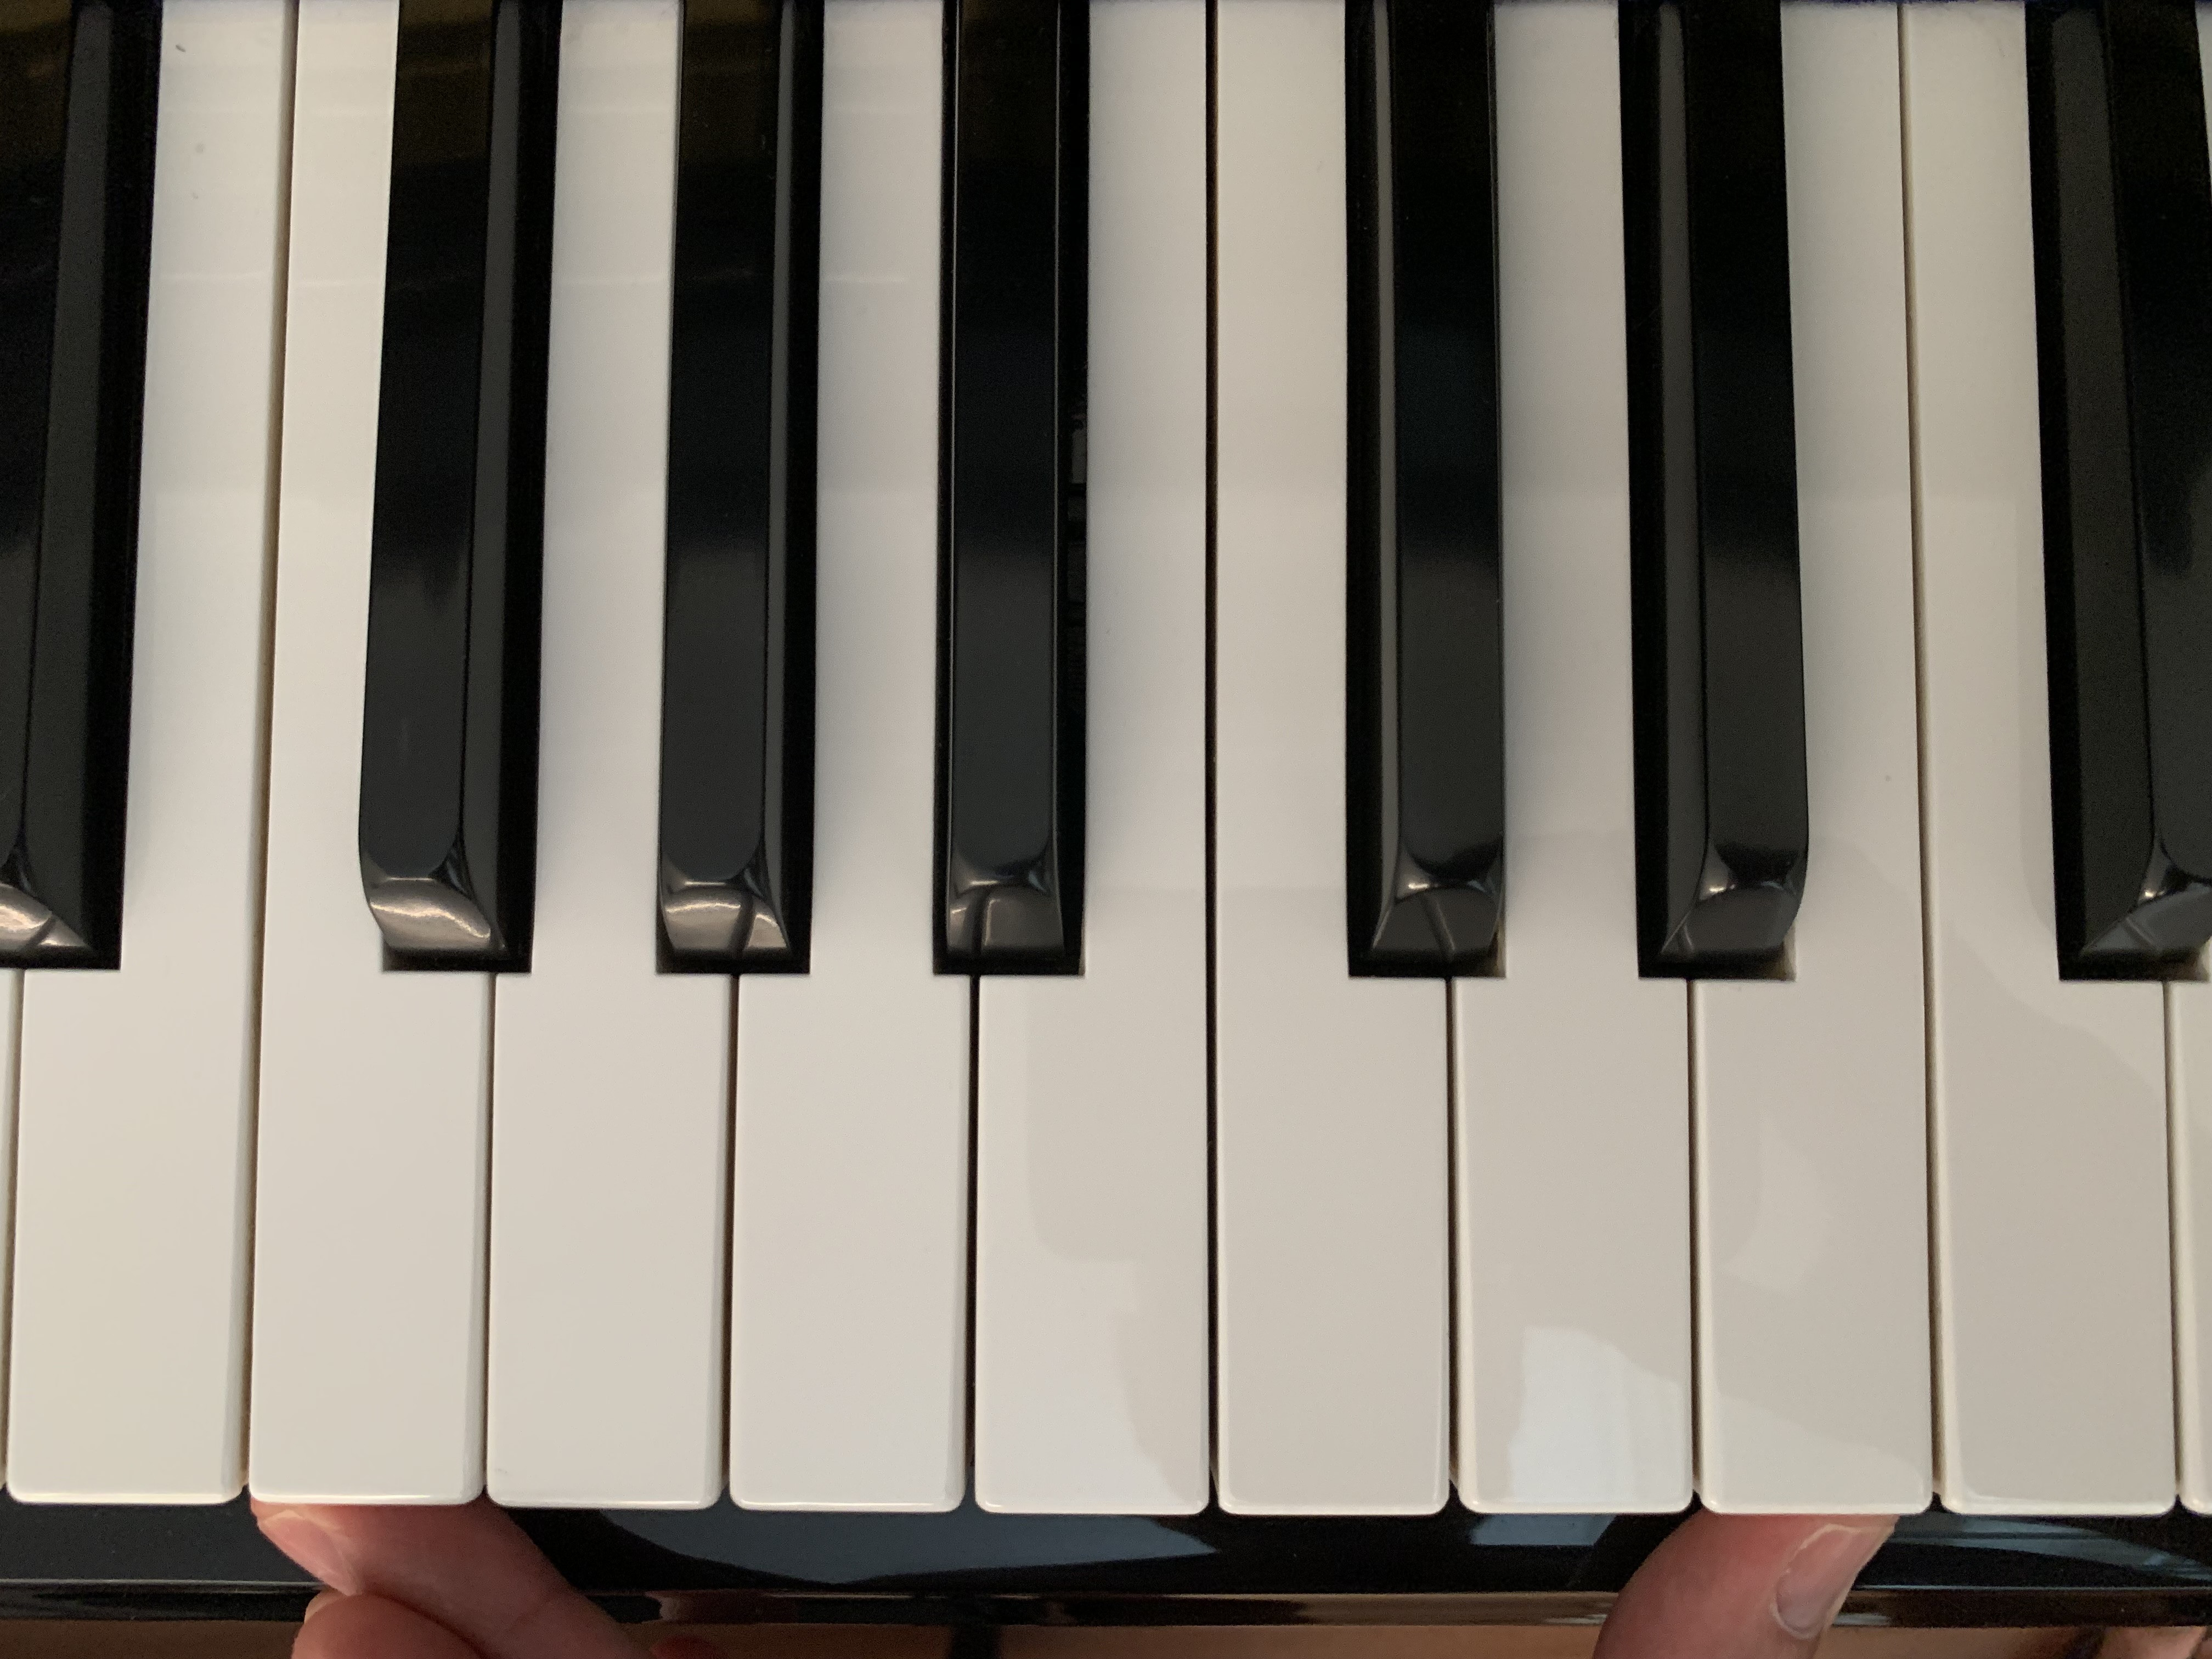
Paulo164
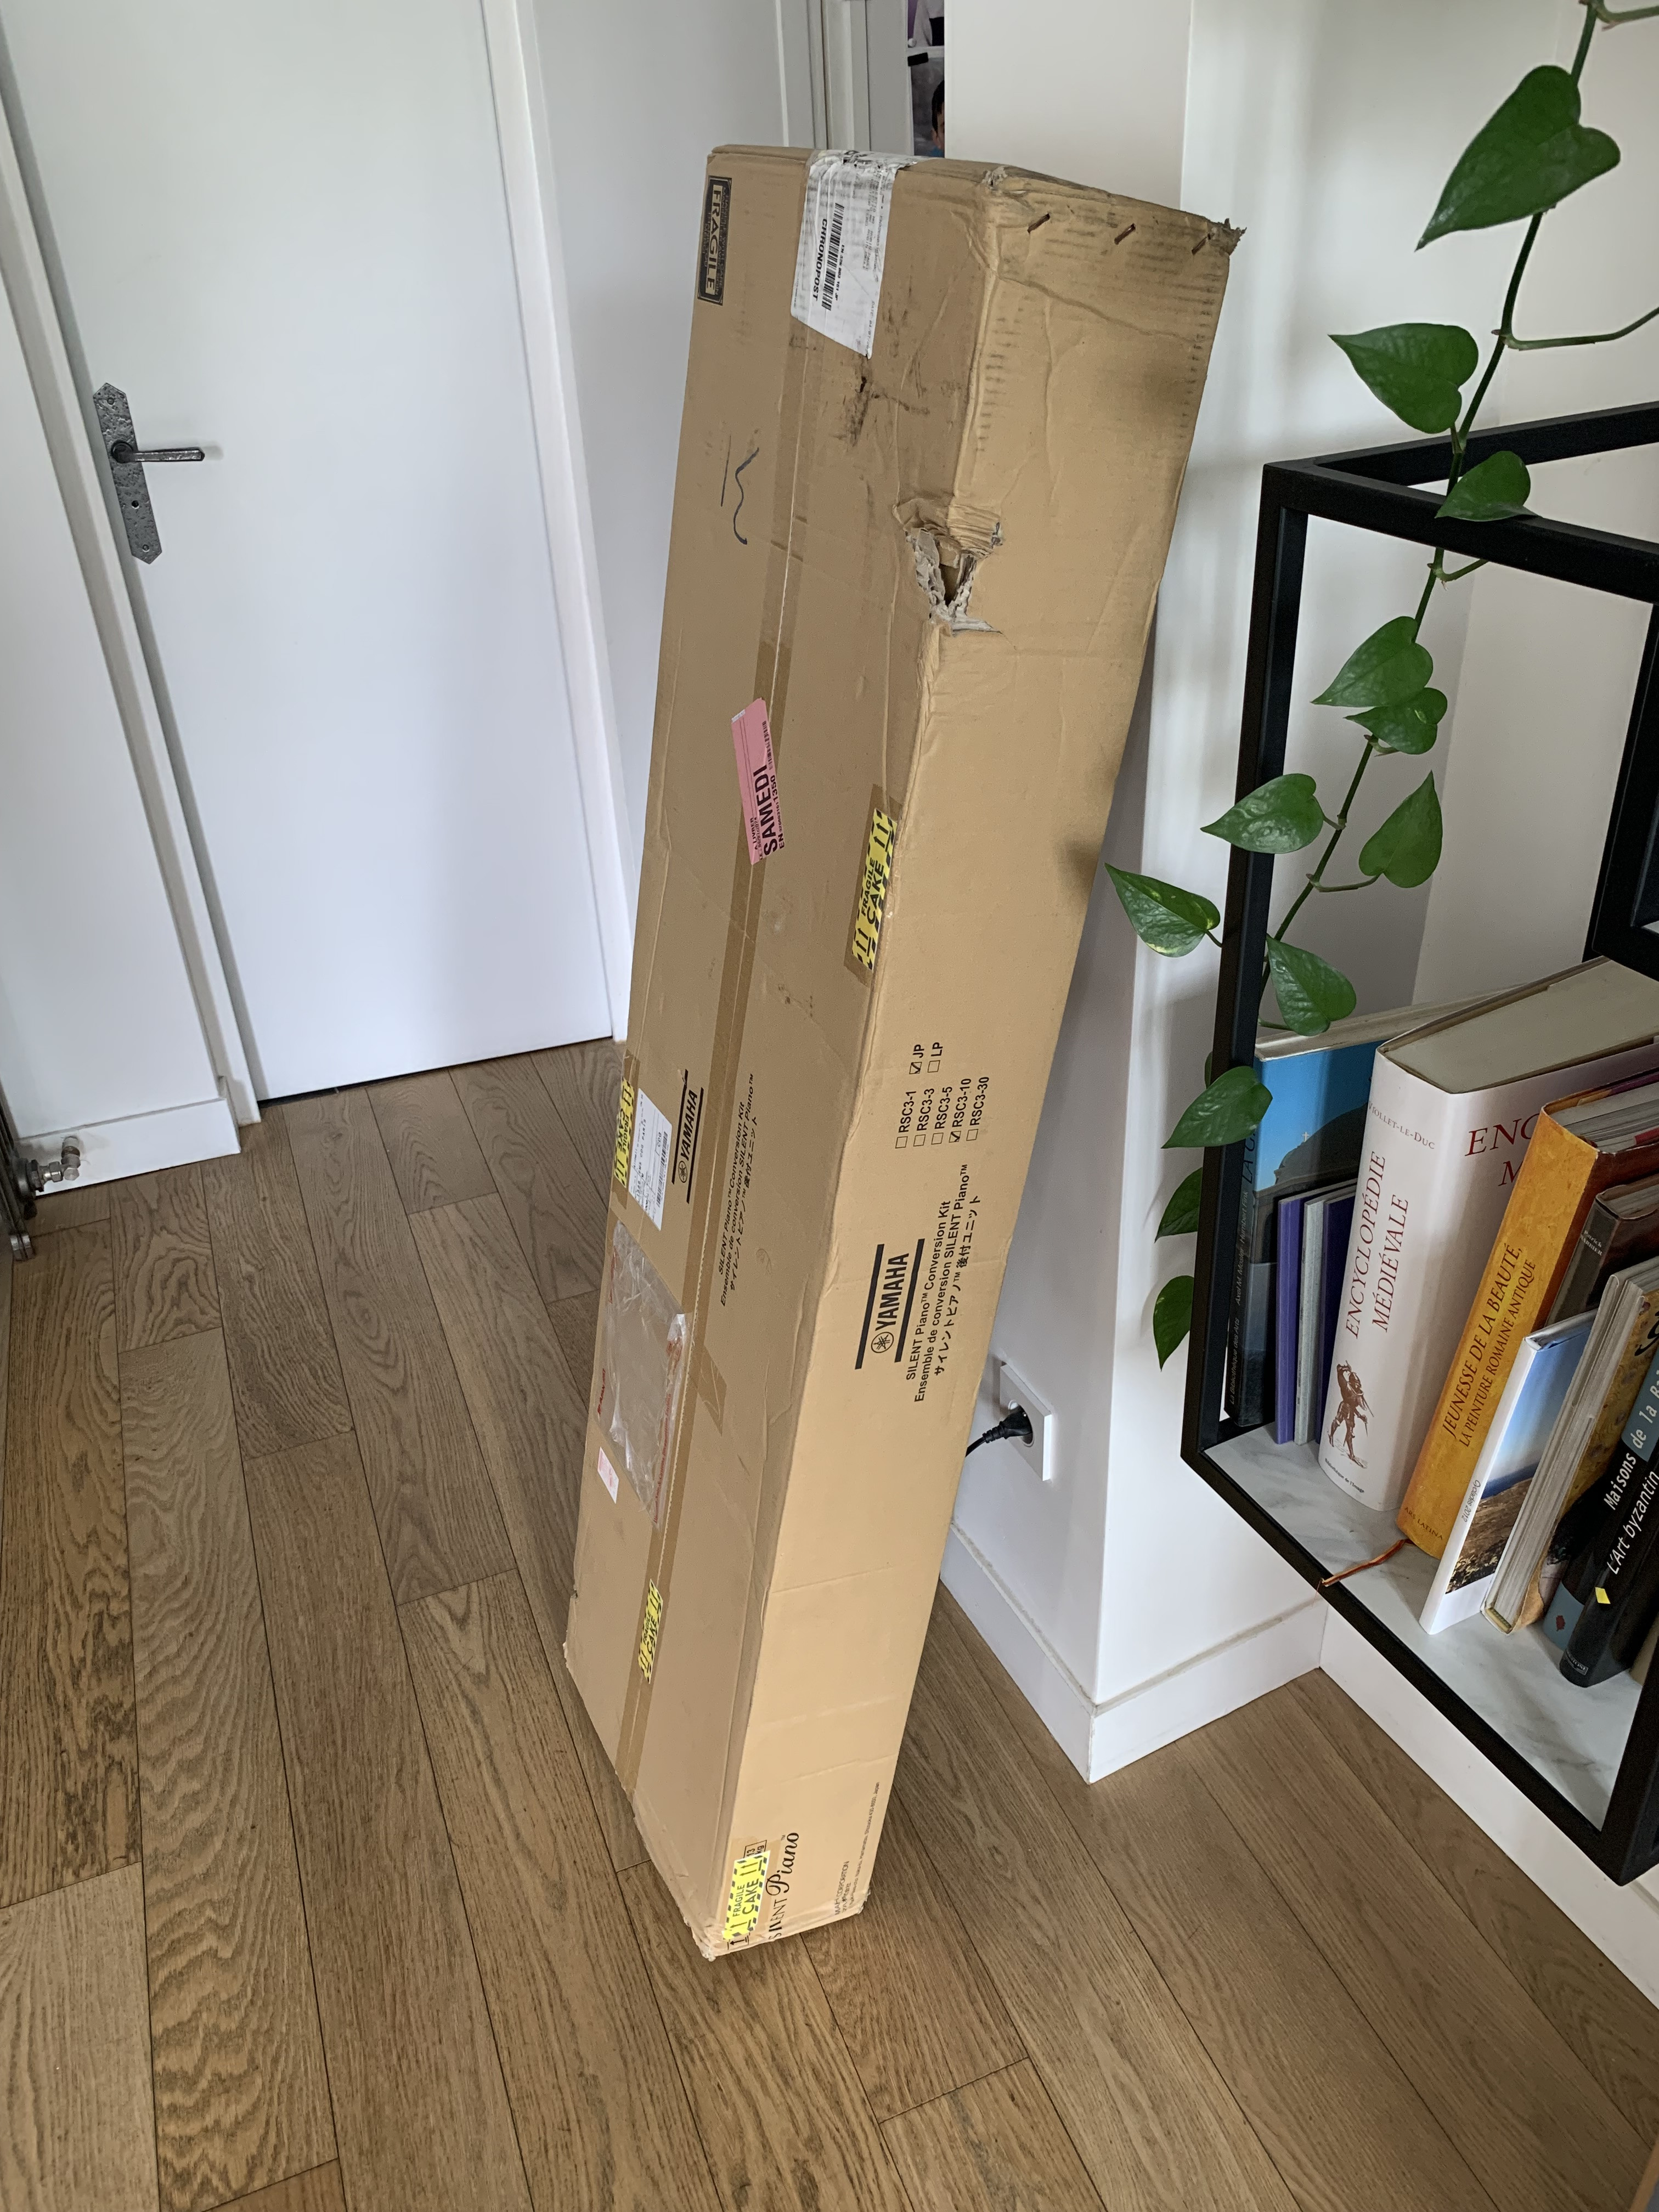
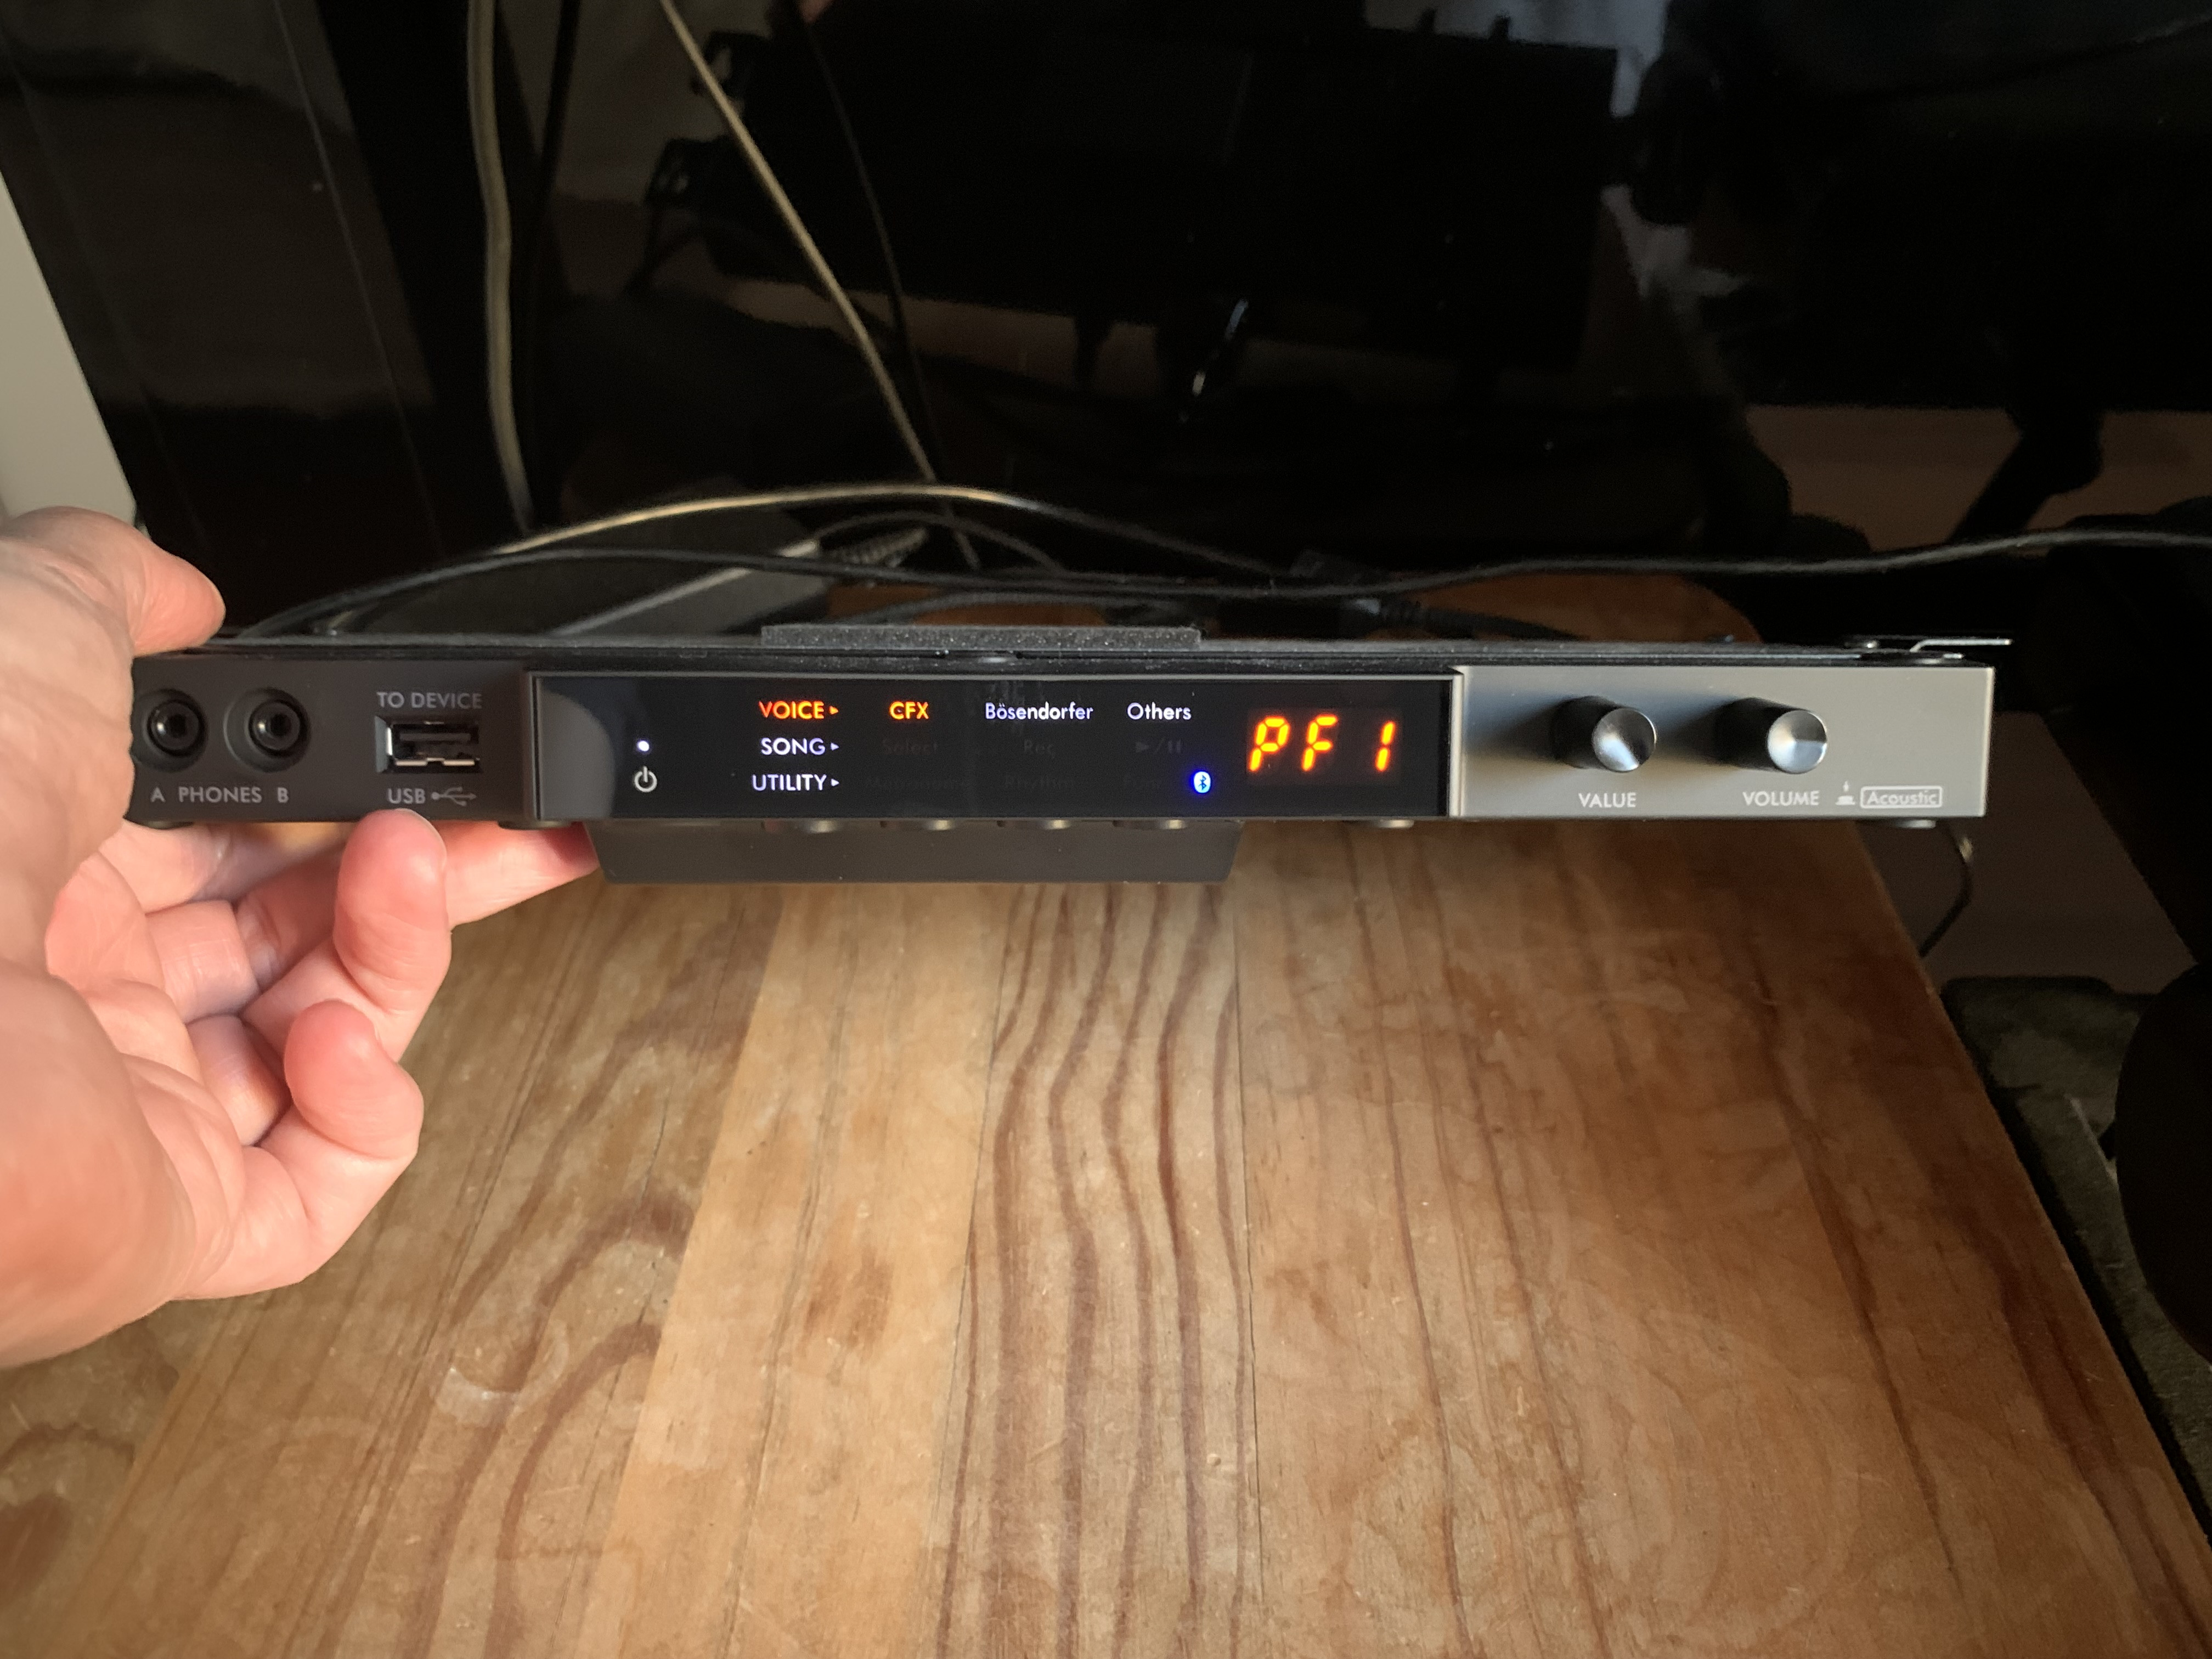
Guess what…

Guess what…
Cool, is that with the new magnetic sensor technology?
Yes, it is.
I have installed it recently but still waiting to find a way to mount it under the right side of the keybed (currently, the cable length allows to mount it on the left side only).
I leave on summer vacation tomorrow but wanted before to open this new thread. I will publish some info about piano regulation, installation, settings, sound engine, midi output. So some thoughts about using it as a midi controller or a pseudo-DIY hybrid upright.
See you for the next episodes.
Paulo164 sounds interesting, looking forward to follow the process and the result. Is it a complicated installation process and is it primarily made for Yamaha pianos?
REGULATING THE ACTION
While I was waiting for my RSC3 to arrive, I decided to regulate the best way possible my upright action. In fact, I still had the adSilent at this time and would use it to test that my regulating operations were beneficial, always improving the equation which is : how to correlate the key movement to the hammer movement. In matter of under-the-keys sensors, any asynchrony between key and hammer would result in unexpected output from the sensors (wrong velocity, wrong timing).
Also, I had in mind that optimizing the action for a silent usage could not be necessarily compatible with optimizing the action for acoustic usage.
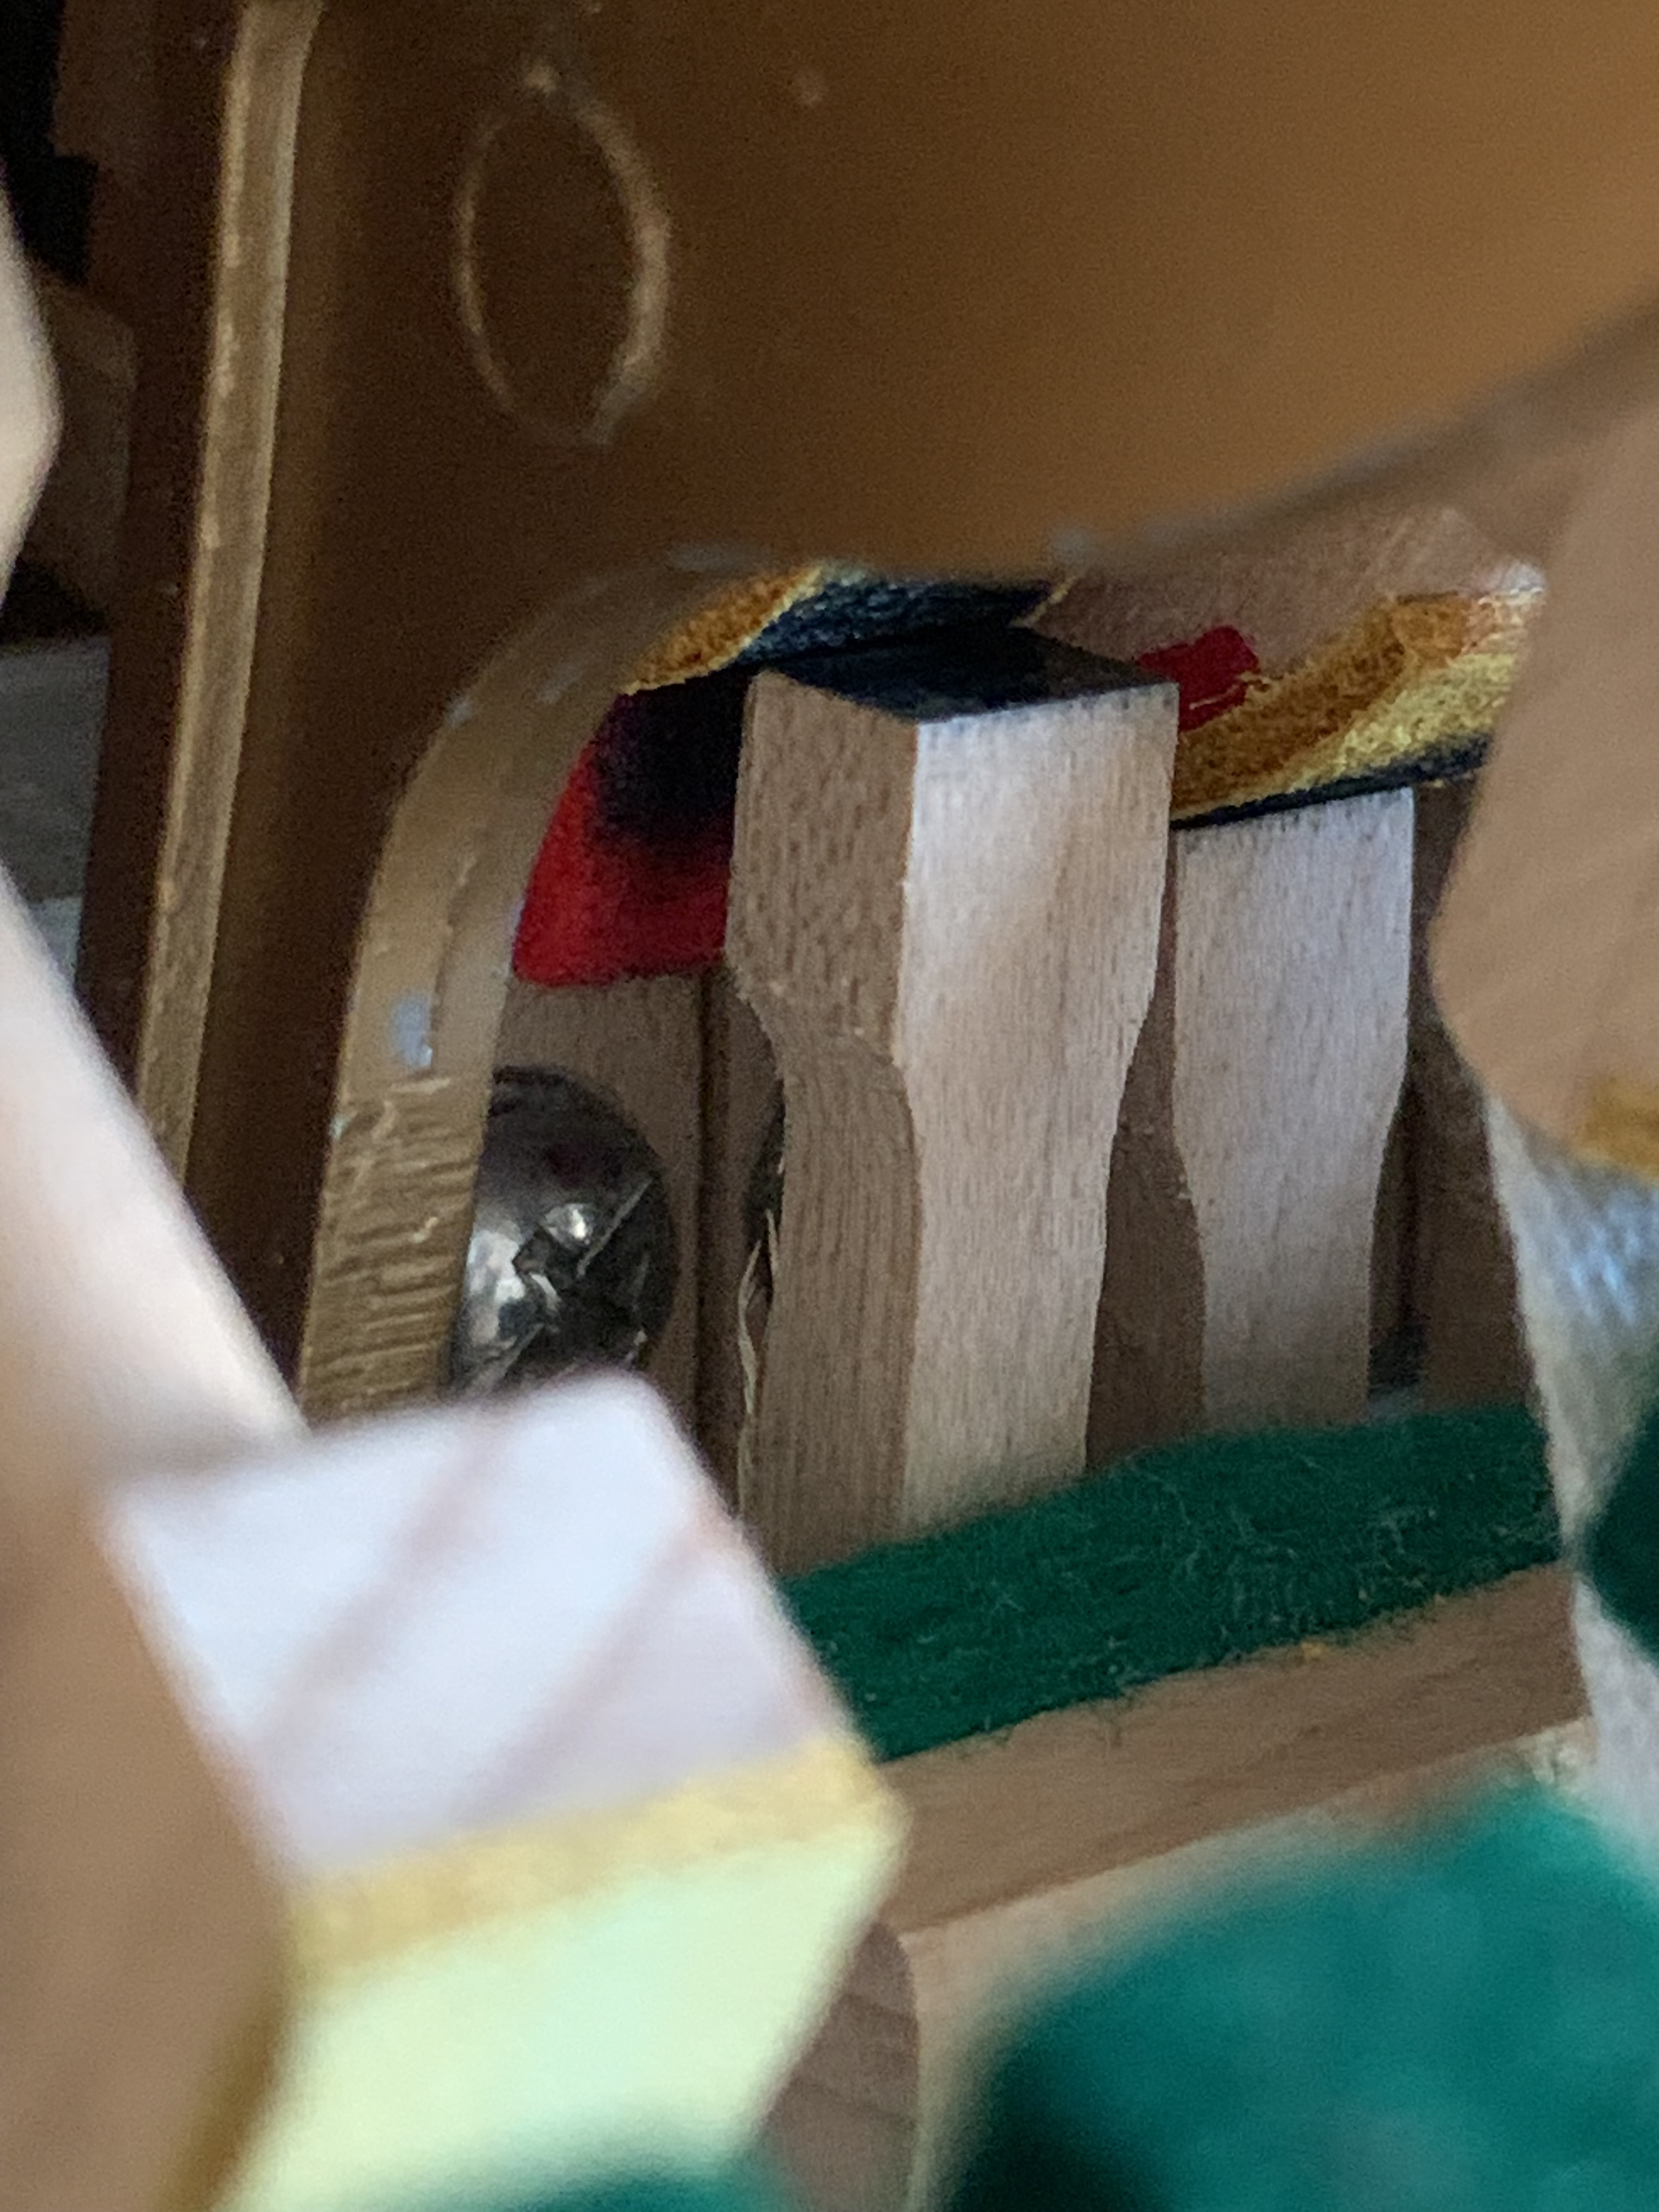
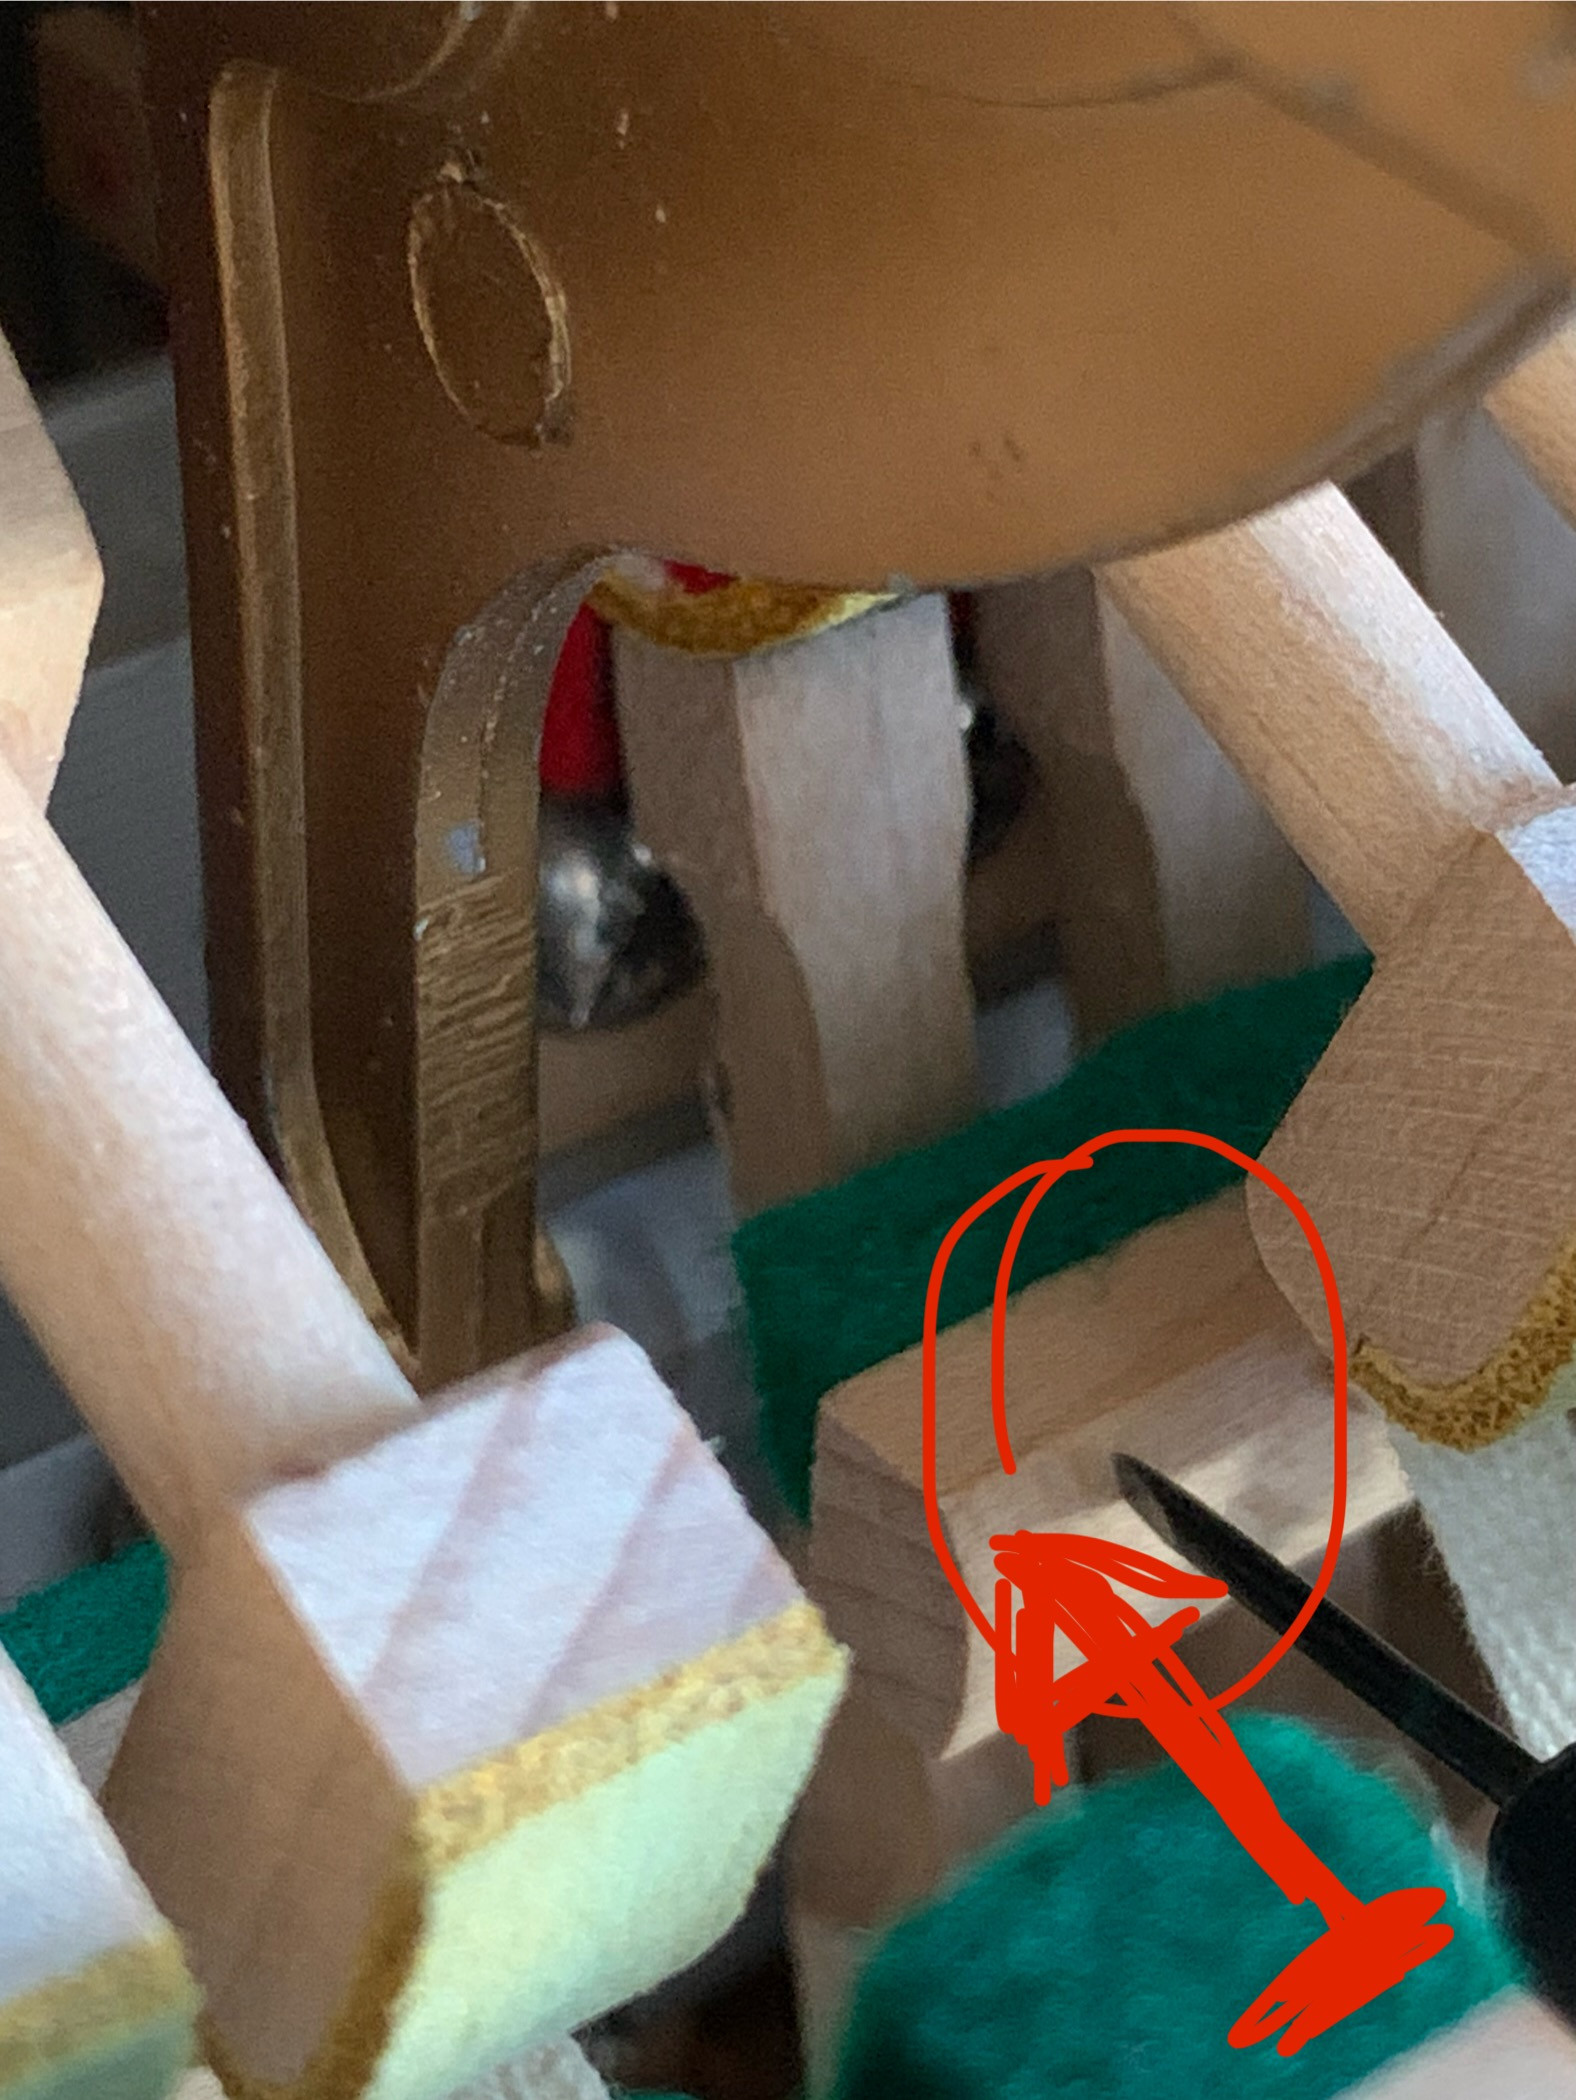
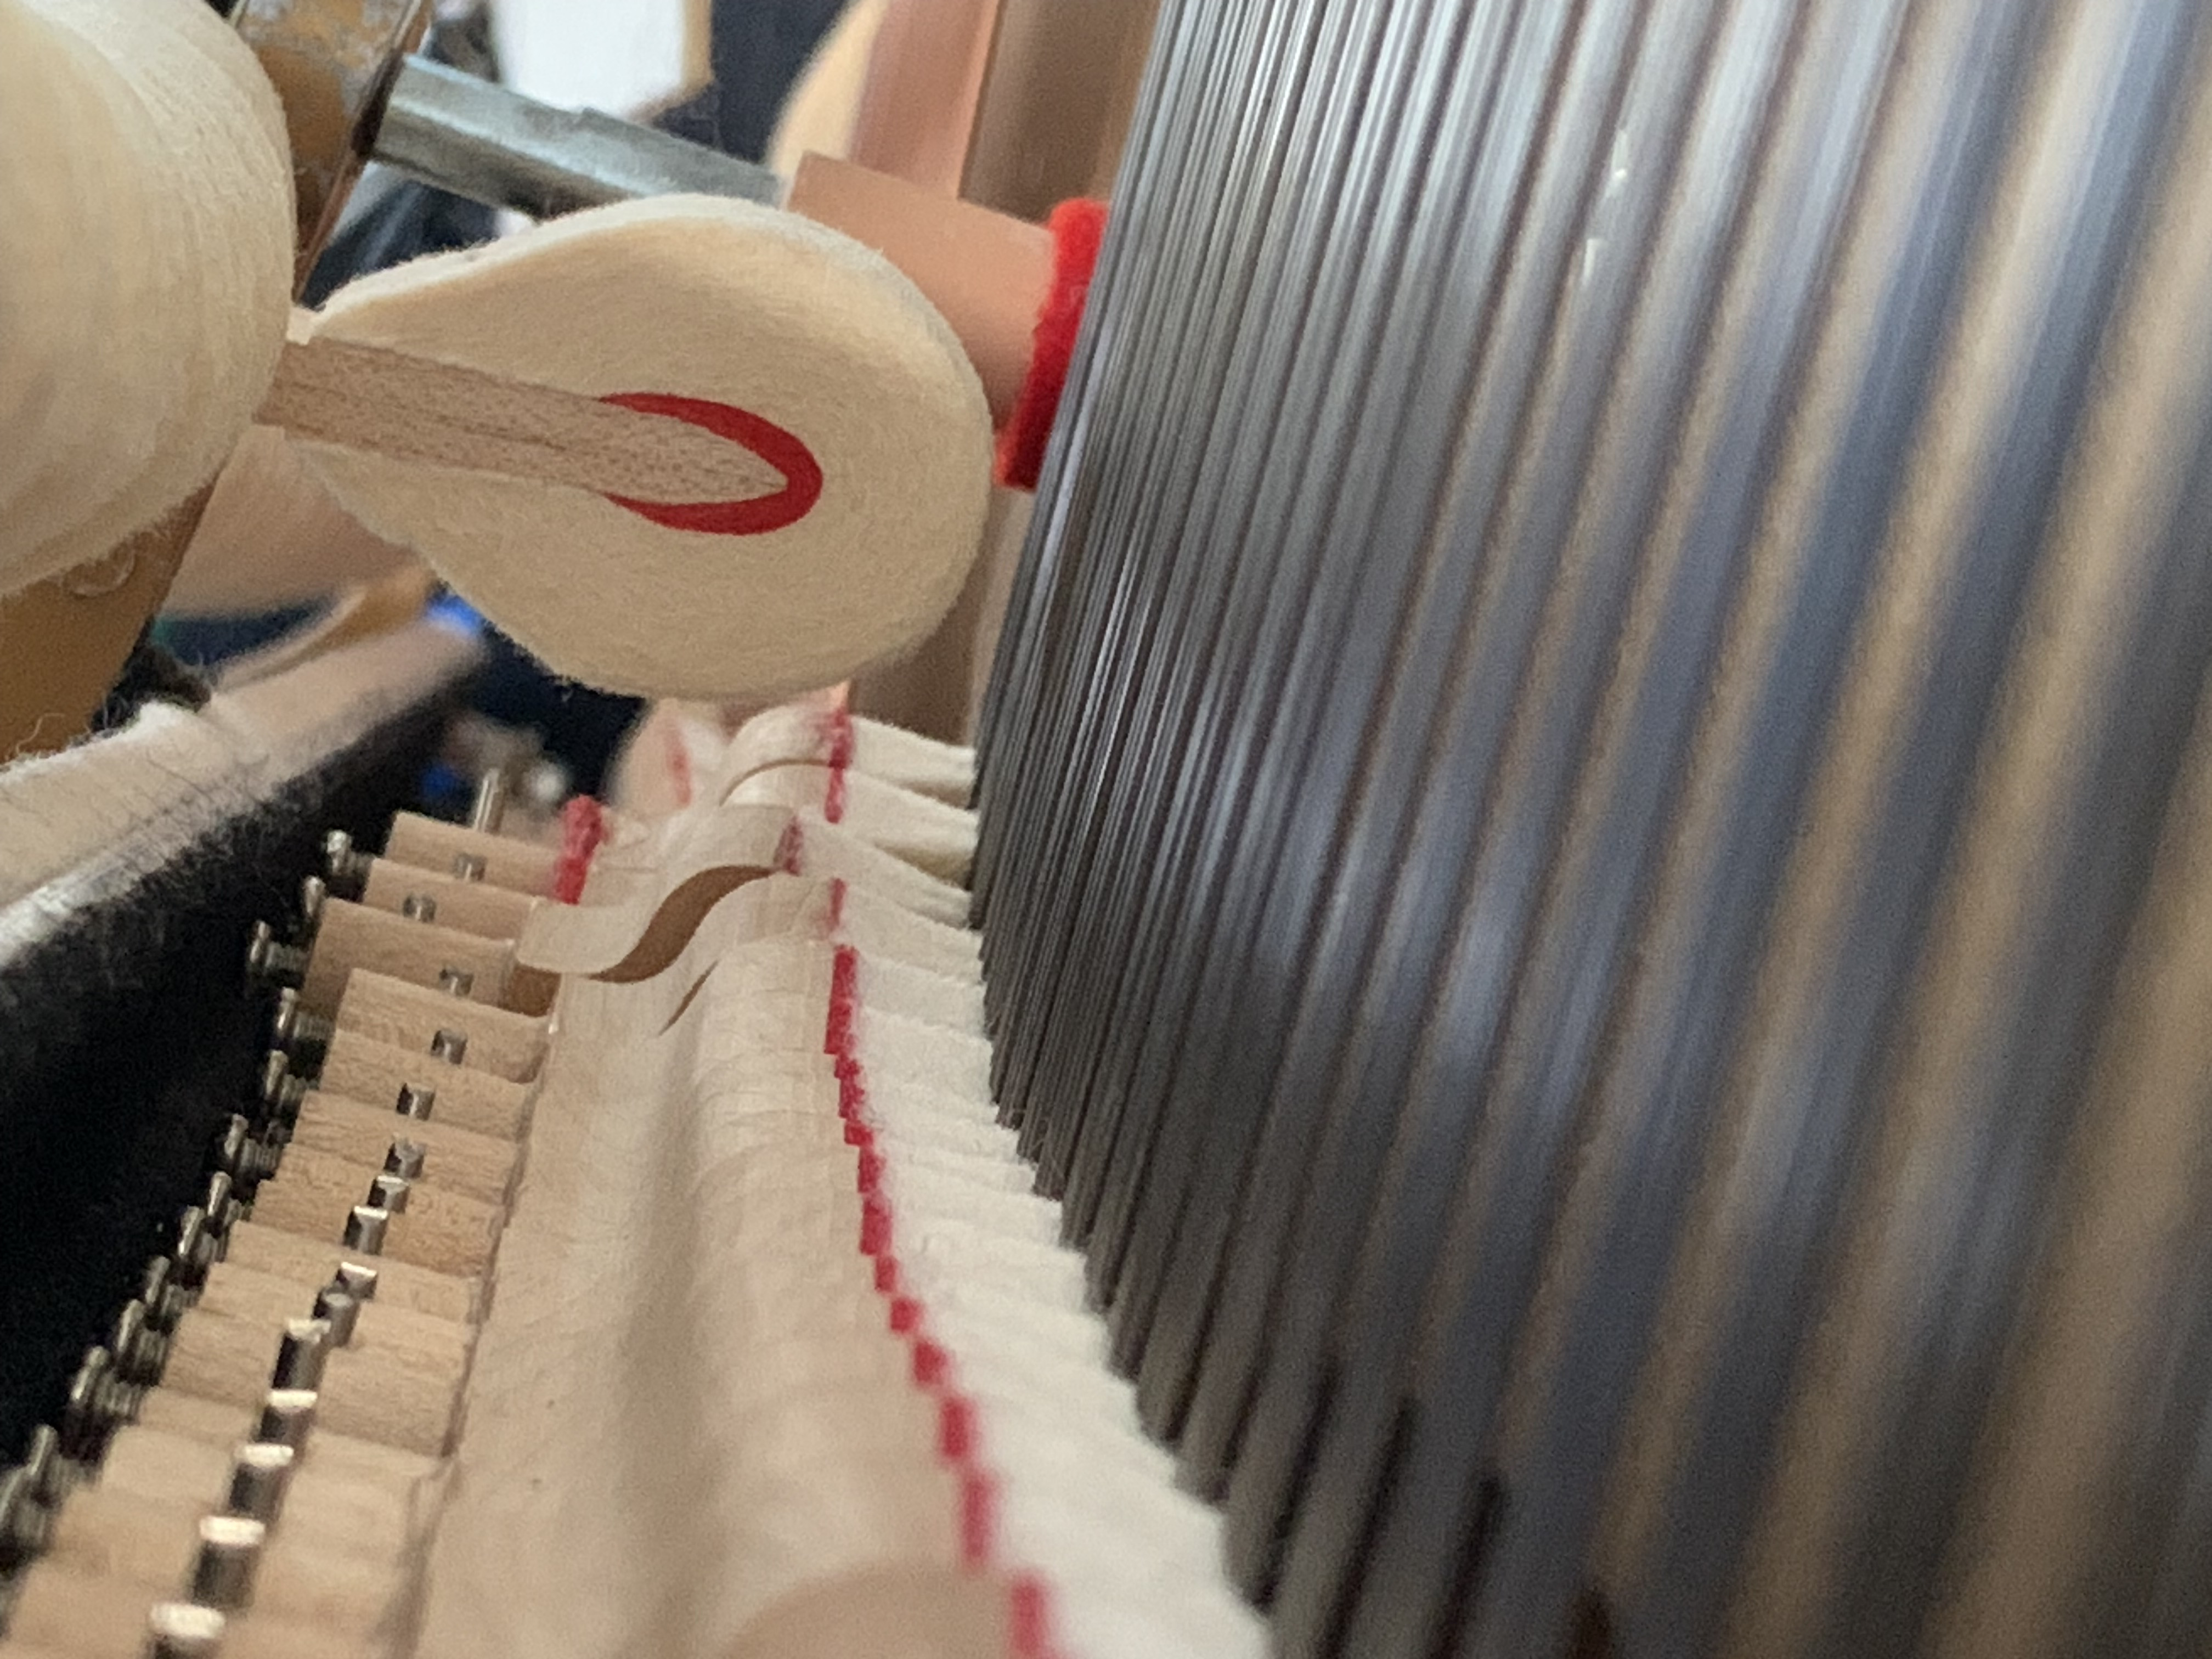
First thing was regulating the let-off with the let-off button, keeping the head of the hammer jack less than 1 mm away from the hammer butt :
For this, I found also useful to get help from something that is never mentioned in piano regulation (probably because it’s not supposed to be involved outside of simple servicing operations) : the jacks resting rail. On my piano, it was 2 cm away from the jack head, so totally unused. I decided to set it so the hammer jack can’t go more than 1mm away from the hammer butt (key depressed) :
Advantage is that all jack heads are aligned and < 1mm from their respective hammer butt.
However here we must take care that the jack is not primarily constrained by the resting rail which would alter considerably the touch feeling. So it should just be helping in aftertouch area.
To ease the return of the jack head under the hammer butt during fast repetitions (and also to reduce the “dead zone” called aftertouch where the key, near the keybed, is not “in contact” with the hammer), I found it was best to check the hammer very closely from the string. Typical regulation advises to set the backcheck so that the hammer is checked at 5/8 of an inch from the string. But if you can go even closer without hammer bobbling, then go for it.
When you reduce the checking distance, you see that the gap between the jack head and the hammer butt has increased. So you can go to step #1 and adjust the let-off distance a bit more to reduce this gap to less than 1 mm.
Once you have proceeded to these operations :
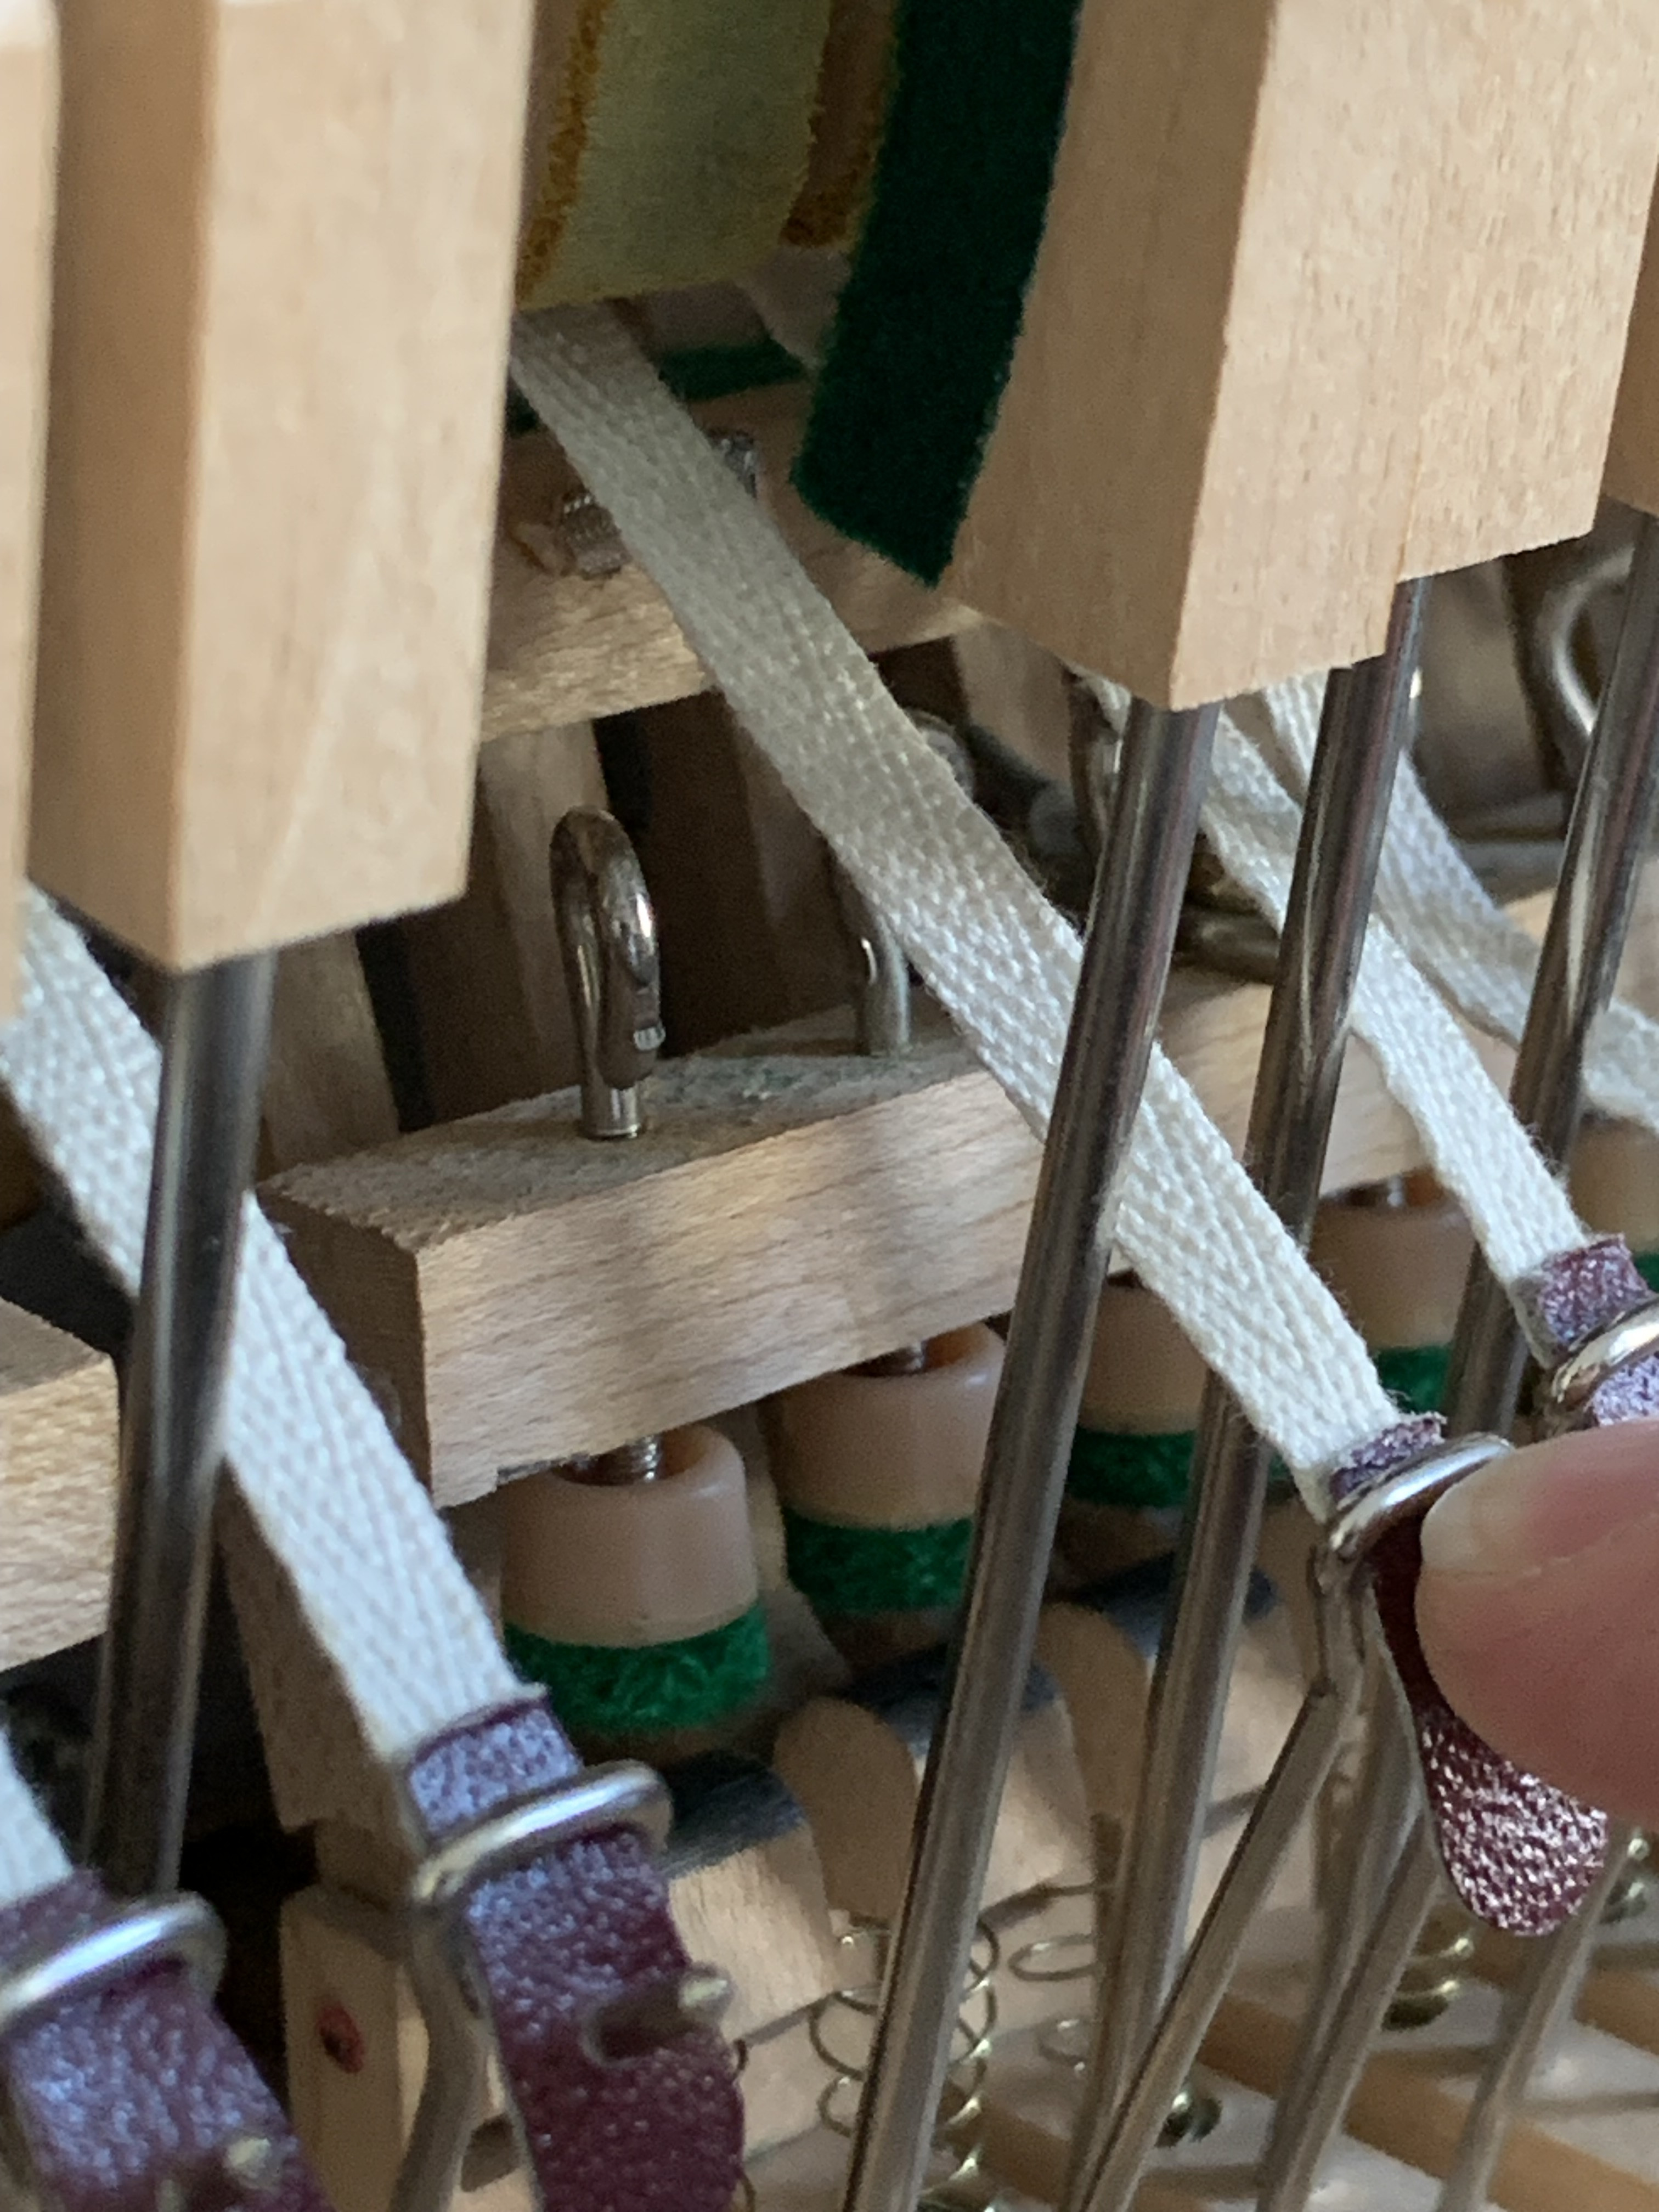
One additional step can also both change the feeling and improve the key/hammer synchronization : tighten the bridle strap.
The bridle strap is this piece of leather attaching the checker to the whippen.
In standard regulation, it’s not supposed to be operating during play. Just to hold the jack in position not far from the hammer butt when you remove the action.
However, some technicians claimed it could be used to ease the return of the hammer as soon as the whippen falls down. Which proved to be true when I tried. So I pulled the bridle strap wire to the front so that the bridle is not tight but pulls the hammer back as soon as the key (thus the whippen) is lifted. This changes drastically the touch feeling : at the start of key pressing the feeling is very light and smooth and when the key is coming back to its rest position, it’s coming slower and bounces because it’s tracking closely the hammer position (which bounces against its rest rail).
Also performing trills can be more fatiguing because of the higher inertia involved (the hammer, attached to the whippen, moves back or forth way more).
Too tight and the hammer butt presses too much against the jack head, making the return difficult. So this setting can be very tricky…
So for now, I decided to revert back a bit the setting in a more mitigated position.
With these regulations, I managed to get almost rid off the “loud note issue” I had with my adsilent. I would say I reduced by 10 times the probability of occurrence which is very good. Plus my action for acoustic usage was also much improved.
@Paulo164
How much does it cost? And can it be fitted in any upright, or there is some specific thing about Yamahas?
johanibraaten Is it a complicated installation process and is it primarily made for Yamaha pianos?
Yes, it is primarily made for Yamaha pianos. On Yamaha’s Japanese website, there is a list a Yamaha pianos compatible and which RSC3 system is compatible. Mine is RSC3-10 but you have different versions.
Now, this system is compatible with most of upright pianos, sometimes with a few adaptations. The hammers stop bar is probably the thing that should be the less compatible because there is a specificity between the lower and mid sections but it would fit as it is on my Samick piano (though I decided to keep the silent bar installed from my previous adsilent system).
To install the sensors, it is very easy. Probably 100 times easier than what most of people on this forum are attempting in their DIY projects.
It took me 1 day to install the sensors and proceed to calibrations, taking my time not to do any critical error.
Also, worth to notice : if you are okay with an upright action, then you can glue transducers on your soundboard and experience a sound radiation more realistic than what you could get from monitor speakers (which have their pros by the way). This way, you also have the vibration coming back to the keys.
Usually, people involved in a DIY project choose a grand piano action and give away the acoustic part (soundboard).
Please see my other message about this.
For the hammers stop bar, it depends where your low/mid sections limit is located but I would say it should fit at least 50% of conventional modern uprights who share the same strings sections.
For commercial info, please contact me in PM.
Paulo164 In fact, I still had the adSilent at this time
Bit off-topic but, out of interest, could I ask how you found adSilent?
I've only ever tried Yamaha & Kawai silent systems and wondered how others compared.
Hello,
I have done a review of different silent systems based on my impressions when I visited a piano store :
It included the adsilent v1 (Petrof edition).
Unfortunately, I couldn’t test the adSilent v2.
Hopefully it will answer most of your questions but don’t hesitate in case you need further info.
Cheers.
Thank you!
Also very interesting to read about the technical adjustments you've made on your action
Paulo164 thank you for the info. It seems like a great system. And a DYI kit with transducers with a good manual how and where to mount them would be a cool addition (although I think the existing transducer technology in pianos and DP:s is a bit odd).
Hello, I live in France (Lyon) and would like to acquire the RSC3 retrofit system from Yamaha. Can you tell me how to have one delivered to me?
Hi David,
Just contact Queue99 in a private message. He will give you all information needed but you can still ask here for non commercial questions.
PM me for info about customs taxes.
Also, once you have ordered, I can guide you on how to have it delivered properly after it enters the French territory (ie. retained in customs inspection).
Best.
Hello Paulo, Thank you very much. Is it possible to mount this system on Schimmel upright pianos and if possible, do you know of a correspondence table between the different RSC3 systems (1, 3, 5, 10, 30) and the different Schimmel models?
I would say it's possible.
Regarding the hammer stop rail, it depends on the string section, separating bass strings from medium strings. Although I had no need for it, I tested the rail on my Samick SU-127 and it seemed to fit perfectly (as if string sections on modern uprights was a kind of standard).
Regarding the sensors to mount under the keys, it will probably fit. You need to have ~60mm of free space between balance and front rails. Height of sensors rail should not be an issue.
Here is a Yamaha document giving compatibility between the different RSC3 versions and Yamaha uprights :
Maybe you can see if your Schimmel's geometry is similar to the one of a certain Yamaha model listed here ?
Okay, this is the effect of proper regulation and preparation of the upright action before receiving the silent system :
https://youtube.com/shorts/ebV7Sw-uwJA?si=RB2h2tAo7kRQgpm7
As you can see, the jack is reset well before the key is completely released.
Hard to repeat correctly with just one finger (the other hand holding the phone) but believe me you can repeat very fast and reliably with 2 fingers.
ACTION REGULATION #2
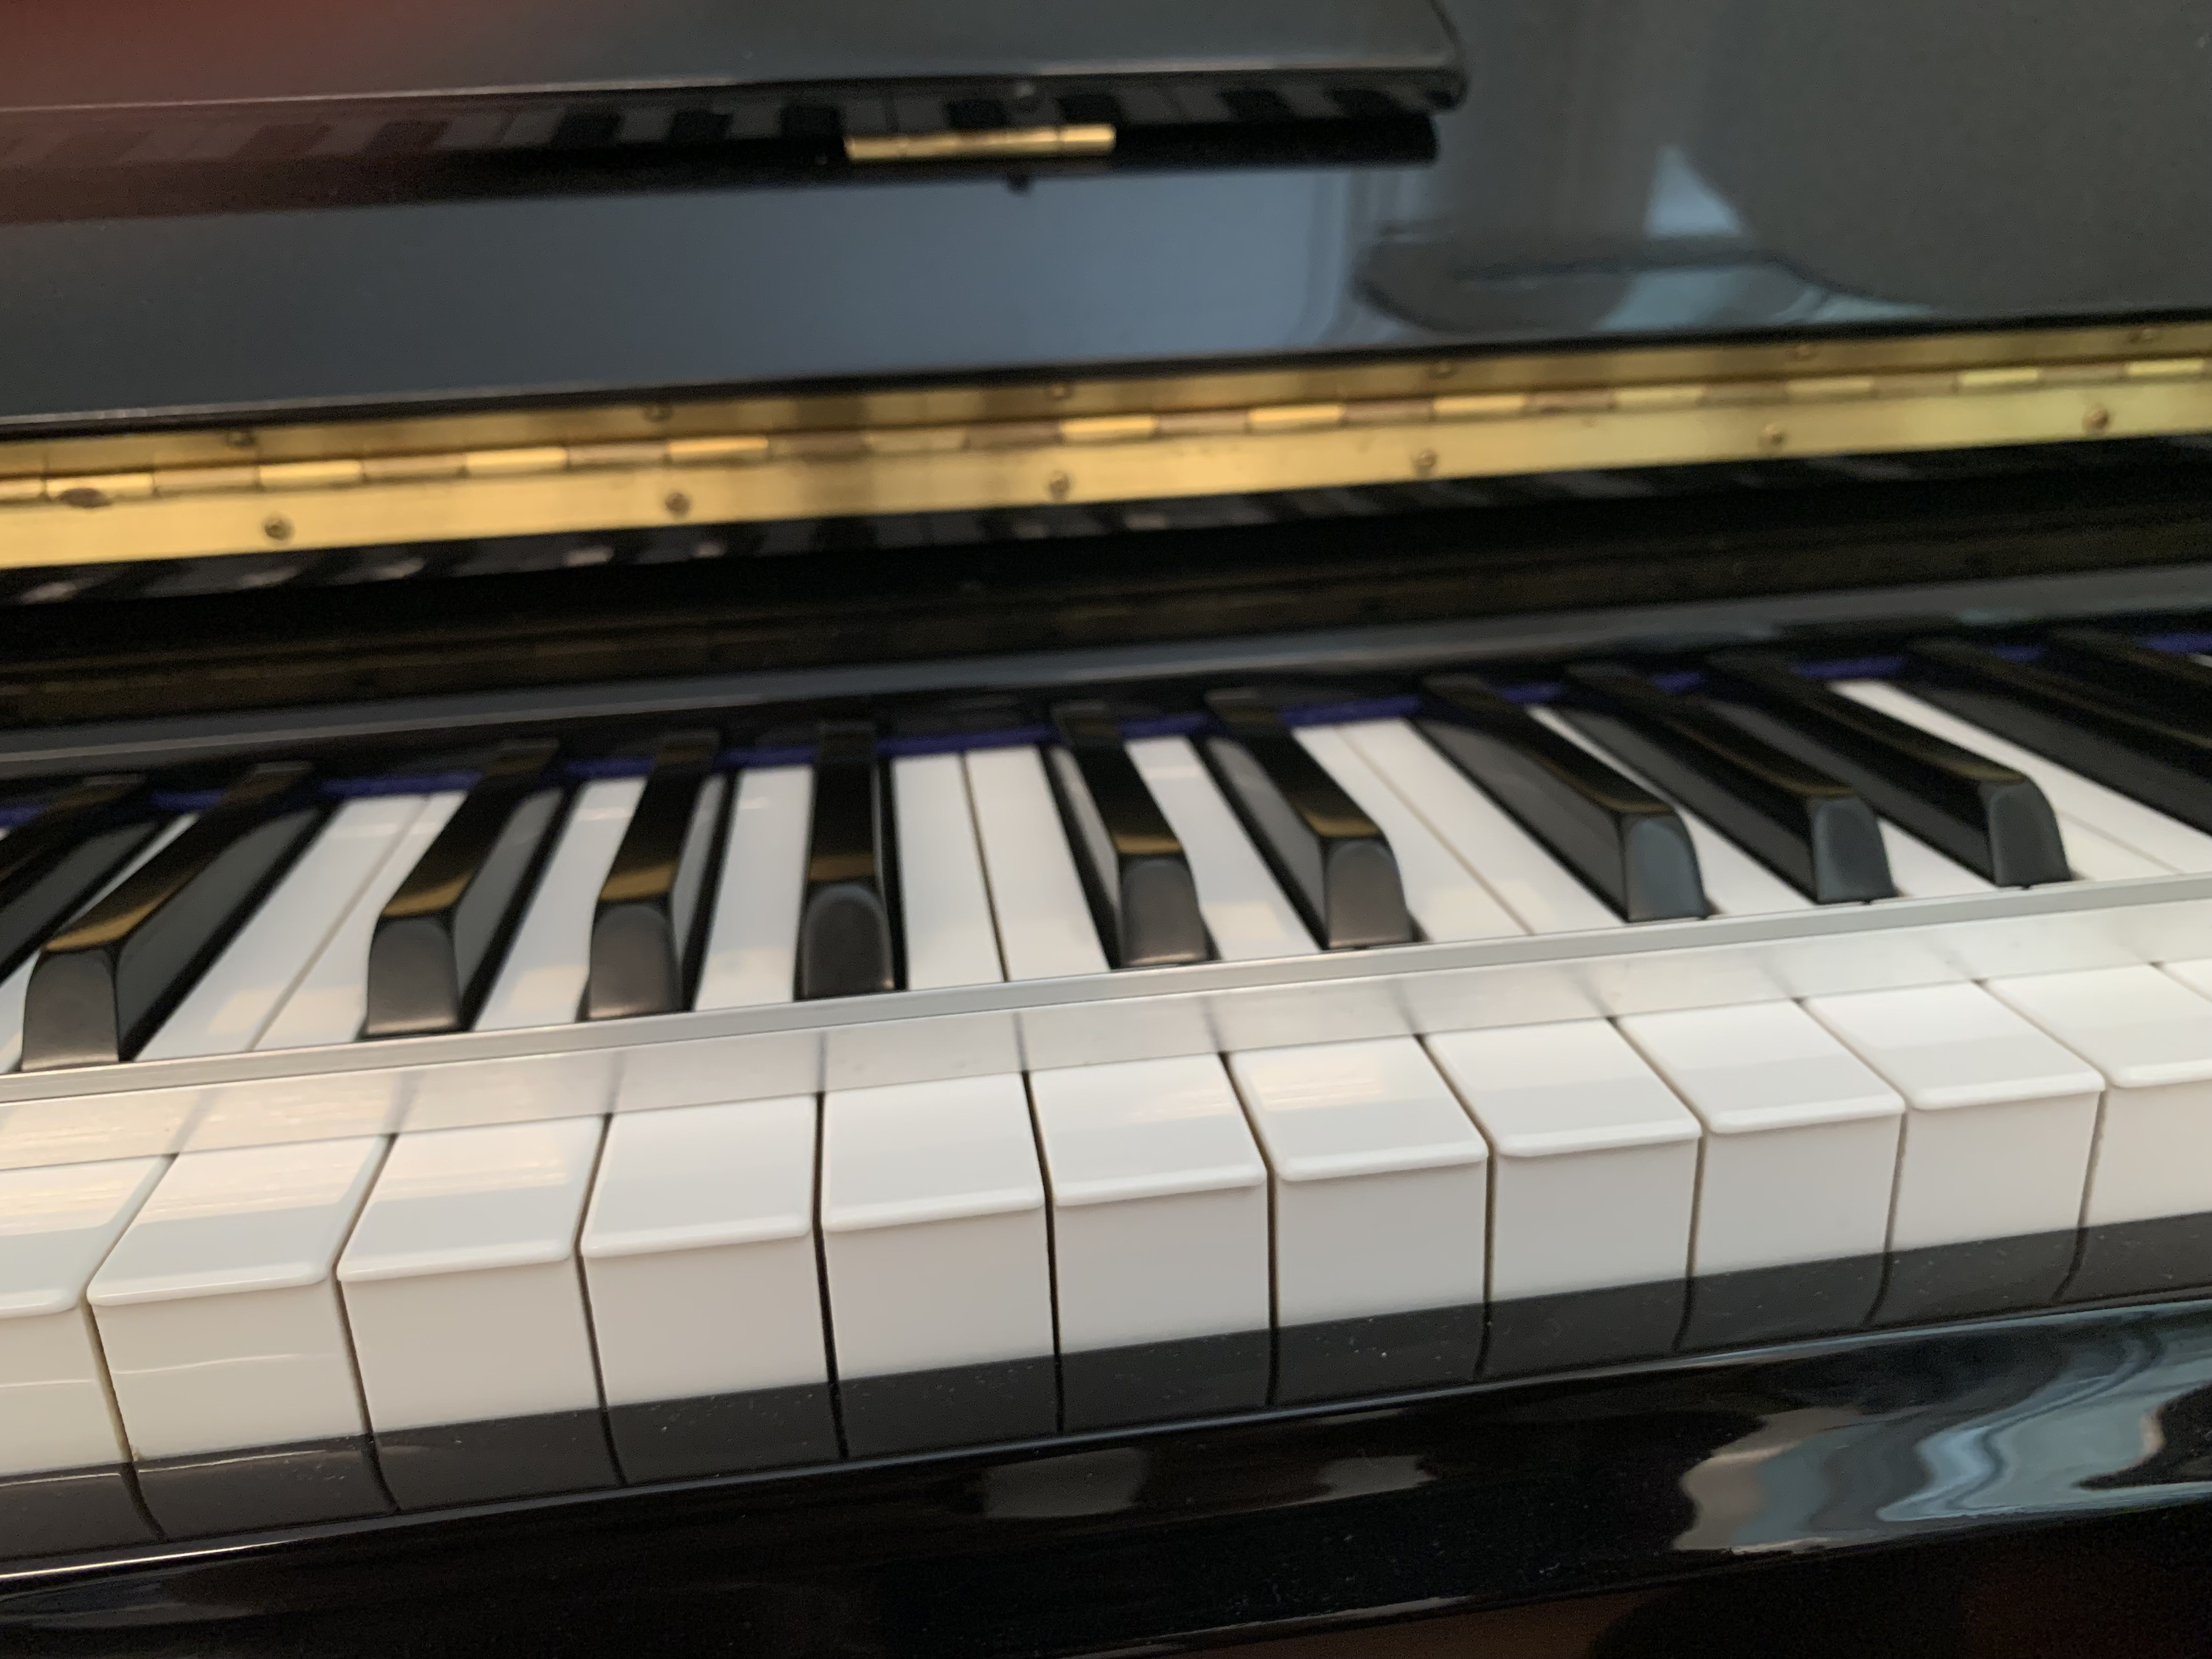
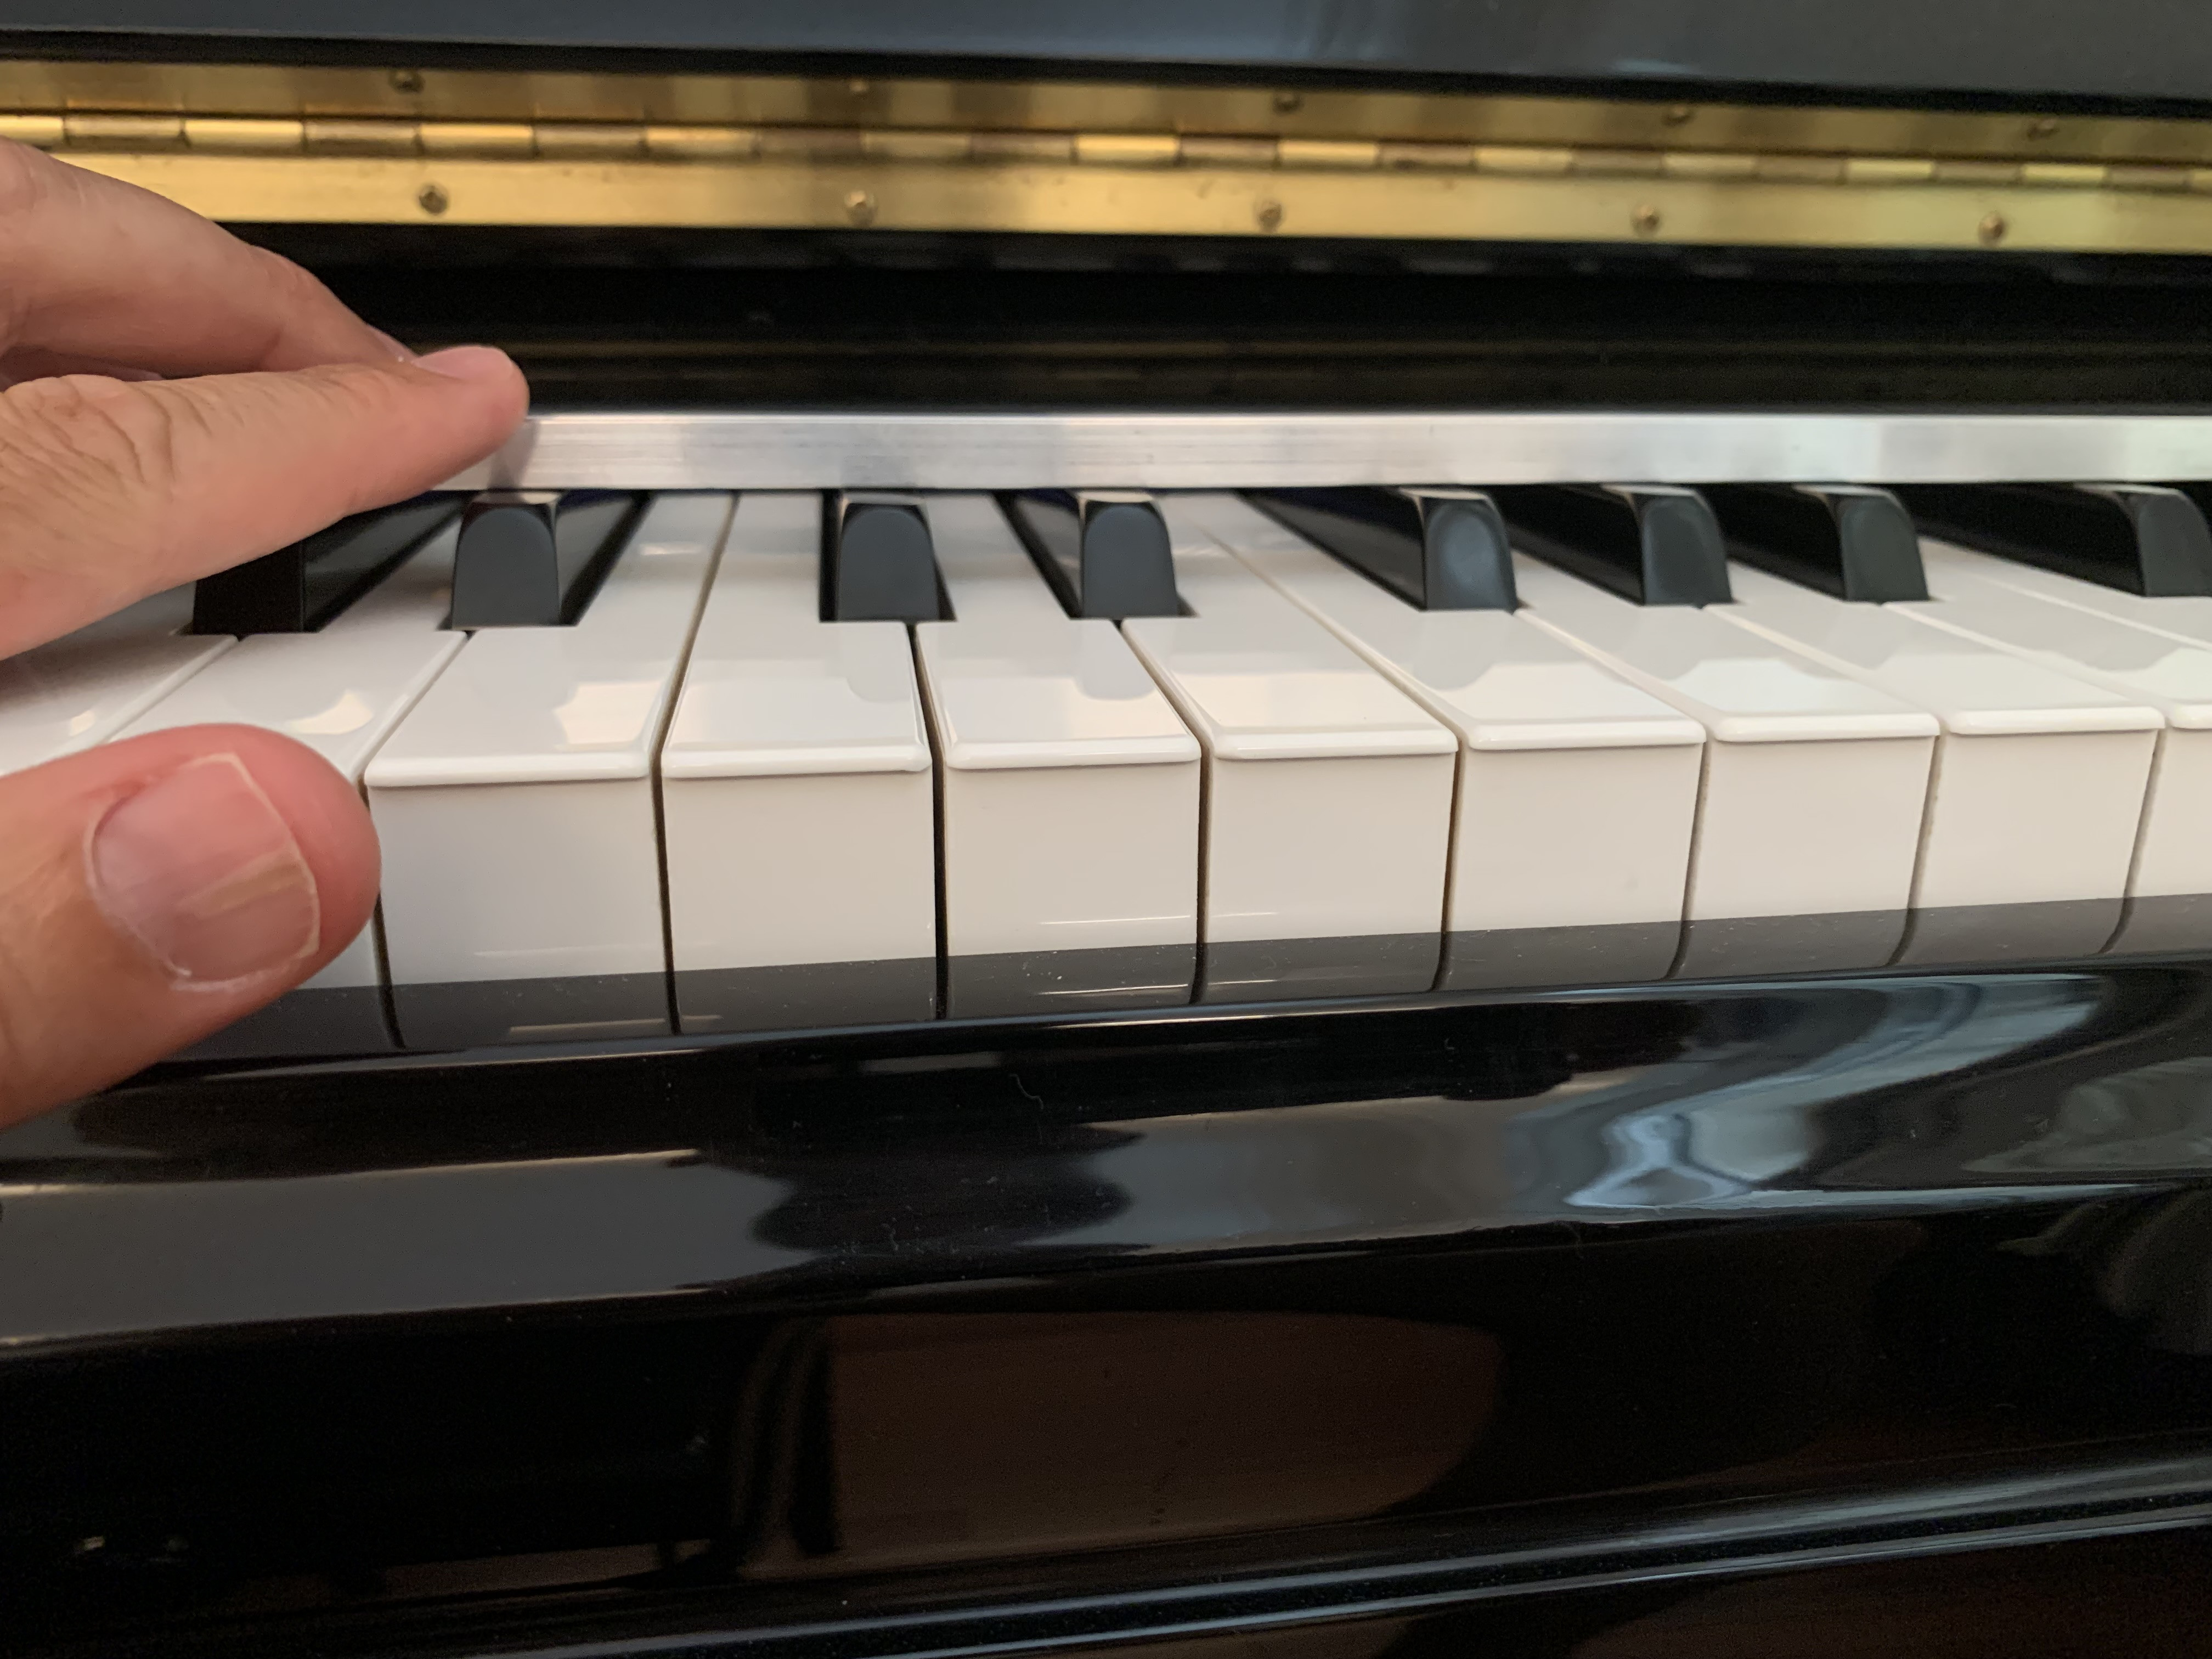
Important also to expect a consistant response from the sensors all across the keyboard : keys leveling (white keys, black keys) at rest and when depressed.
As you guess, you give more chances to the system to behave evenly if all the keys are evenly leveled.
Leveling the keys in depressed position is much trickier because of the felt under the key that compresses more or less according to the force you apply.
Also, I found somewhere that Yamaha recommends the black keys to be 12 mm above the white keys (at rest). I guess this depends on each key geometry and the most important is to have all lower faces aligned together (not easy to check).
For those who know, the RSC3 uses new EM sensors. You have the main sensors rail + tiny sensors (inducers) to glue on the lower face of the keys.
It is important that both parts (sensor and inducer) facing each other be well aligned together.
So one important step to do before mounting the system is keys spacing.
If you mount the system before proceeding to keys spacing, sensor+inducer will be aligned, but then, if you decide later to space evenly your keys (let say for aestetic reasons), they risk to be a bit misaligned for keys that have been moved lateraly. This could reduce the induction response. So I recommend to do this before.
Thank you Paulo for all these very important clarifications and also for these very detailed videos and photos (I imagine that they must not have been easy to make but they are very appreciable to understand the adjustments to be made with precision).
Sorry if I may sound silly with this question: I thought that the key spacing of a piano was not adjustable because it depended on the balance tip fixed immovably to the keyboard frame: how should we proceed with the spacing of the keys? Is this operation essential to carry out before proceeding with the assembly of the RSC3?